Overview
The Designer Templates feature in the Omeda Content Management App allows you to create, customize, and manage reusable templates for your communications and experiences. Whether you're building email layouts, form builder email confirmations, personalizations, or meter templates, Designer Templates gives you a centralized place to design and organize them all. This tool helps you maintain consistent branding, streamline your creative process, and make updates quickly — ensuring your content looks great and performs seamlessly across every Omeda channel.
Key Features
-
Multi-Channel Template Creation: Design and manage templates for emails, form confirmations, personalizations, and meters — all from one place.
-
Centralized Management: Keep every template organized and easy to update within the Content Management App.
-
Flexible Design Tools: Customize layouts, content, and styles to match your brand and audience needs.
-
Reusability and Consistency: Create once and reuse templates across multiple campaigns and experiences.
Benefits
-
Save Time: Reduce repetitive design work by reusing and modifying existing templates.
-
Ensure Brand Consistency: Keep your look and messaging uniform across every customer touchpoint.
-
Simplify Collaboration: Give your team a shared space to create and manage design assets together.
-
Improve Efficiency: Update templates centrally so changes are reflected everywhere they’re used.
Getting Started
To begin building templates, you’ll use the Designer tool within the Content Management App. Follow these steps to create your first template:
-
Access the Content Management App
-
Ensure you have the appropriate permissions to access the app.

-
-
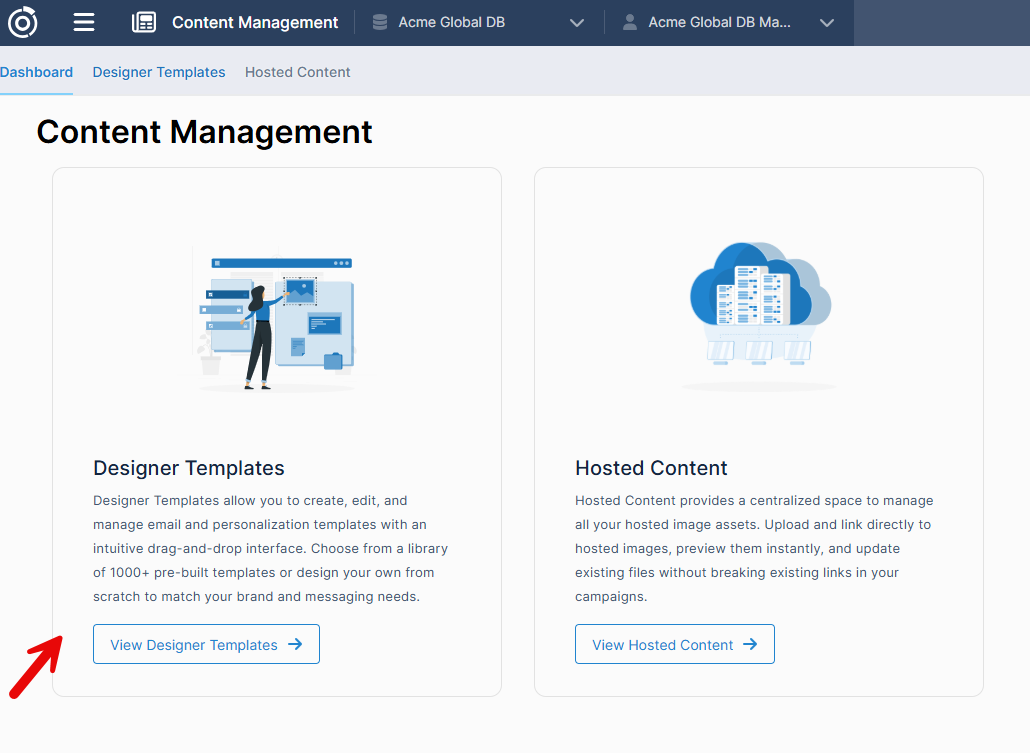
Open the Designer Templates Tile
-
Navigate to the Designer Templates section within the Content Management App.
-
-
Click “Create” and Select Your Template Type
-
Choose the type of template you want to build.
-
Email: These templates will only be available in Email Builder and Odyssey (coming 12/12).
-
Form Builder Confirmation: These templates will only be available in Form Builder Email Confirmations.
-
Personalization: These templates will only be available in Personalizations.
-
Meter: These templates will only be available in Meters.

-
-
-
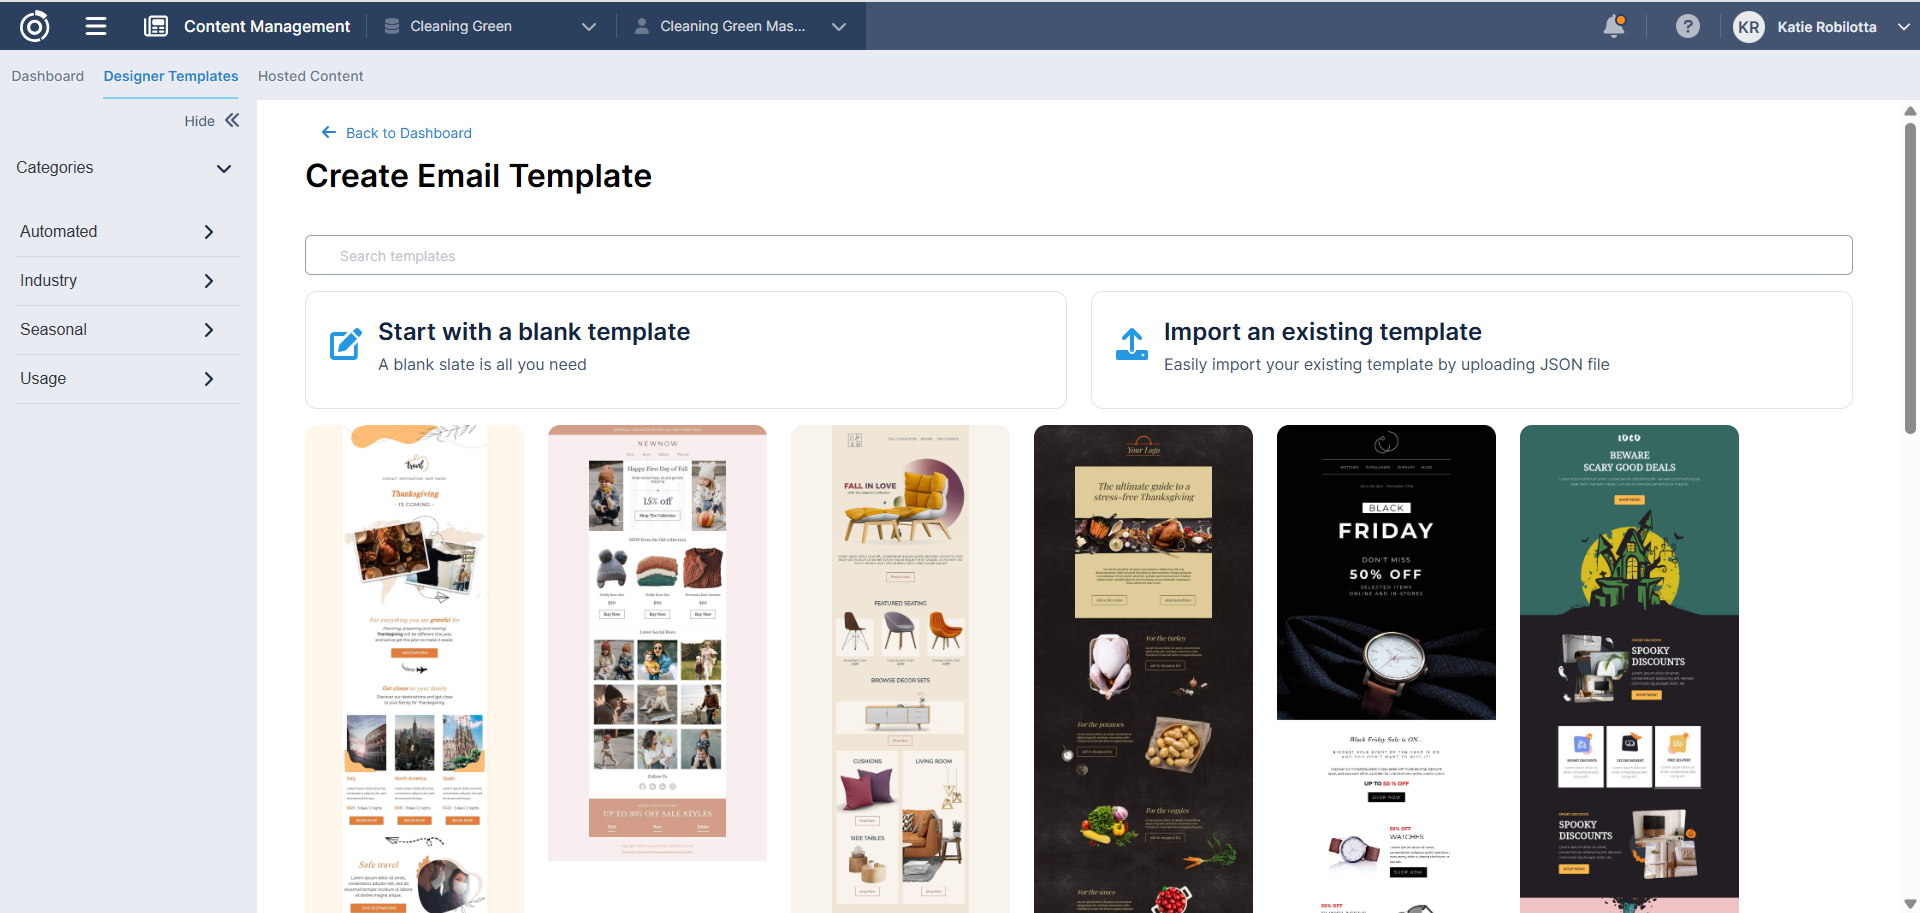
Choose How to Start Your Design
-
For Email or Form Builder Confirmation templates, you can:
-
Start from Scratch: Opens a blank canvas in the Designer tool.
-
Upload: Import an existing JSON file, then customize as needed.
-
Select from Gallery: Choose from over 1,000+ predesigned templates, then customize as needed.
-
-
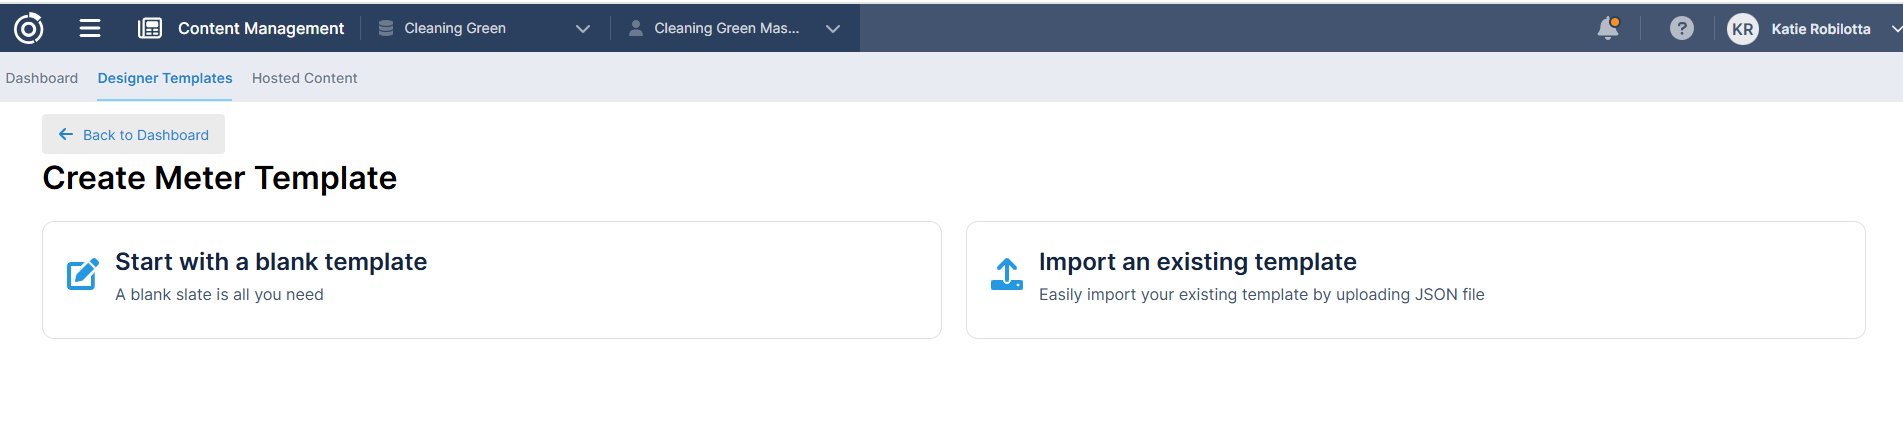
For Meter or Personalization templates, you can:
-
Start from Scratch or Upload a JSON file only.
-
-
-
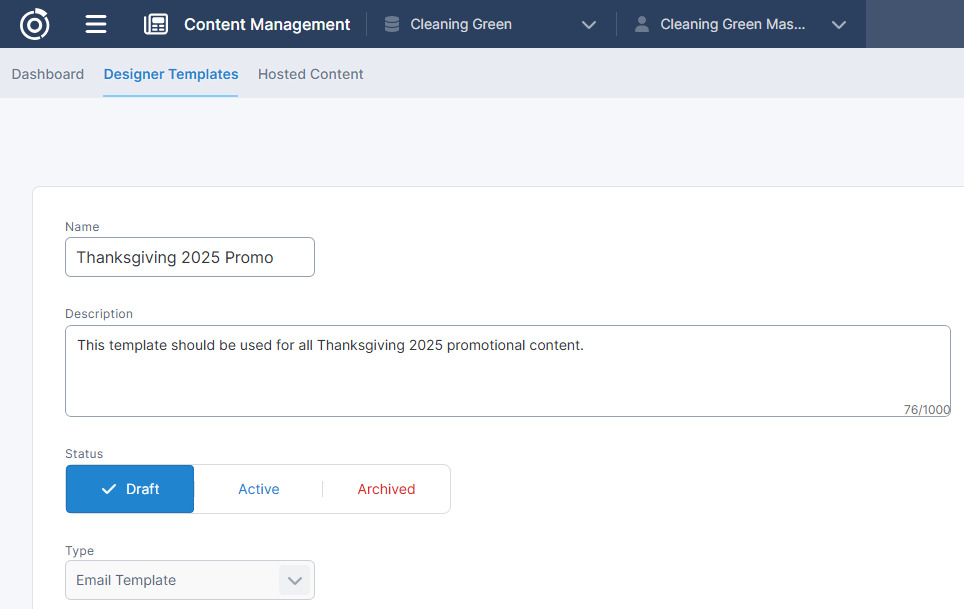
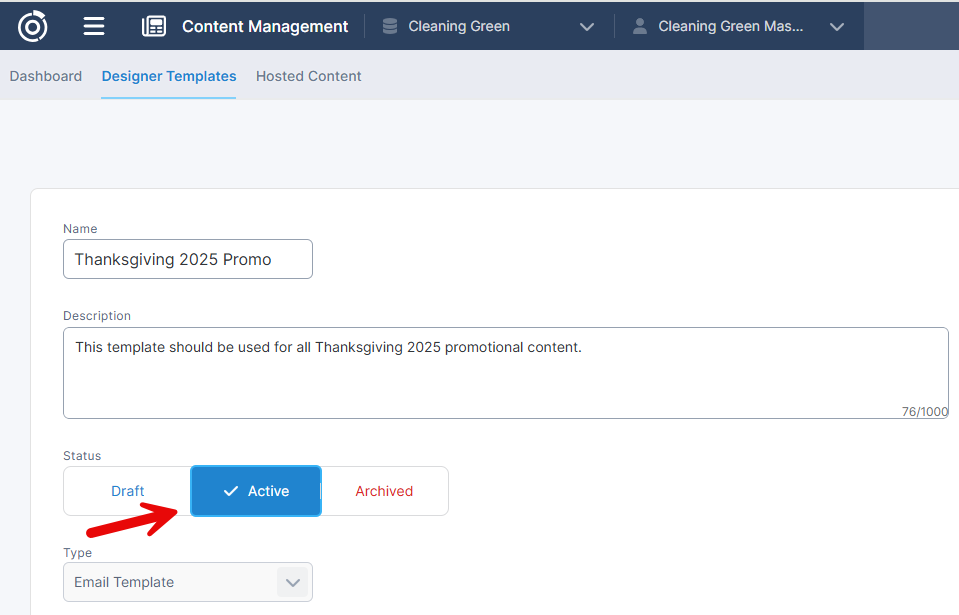
Save Your Design
-
Enter a name and description for your template.
-
-
Activate Your Template
-
Update the template’s status to Active once it’s ready to be used.
-
-
Access Your Template in the Right App
-
When creating message content in the app of choice (Email Builder, Odyssey, Form Builder, Pesronalizations, Meters) the template will appear in the appropriate app based on its type under the “My Templates” tab within the Designer tool.
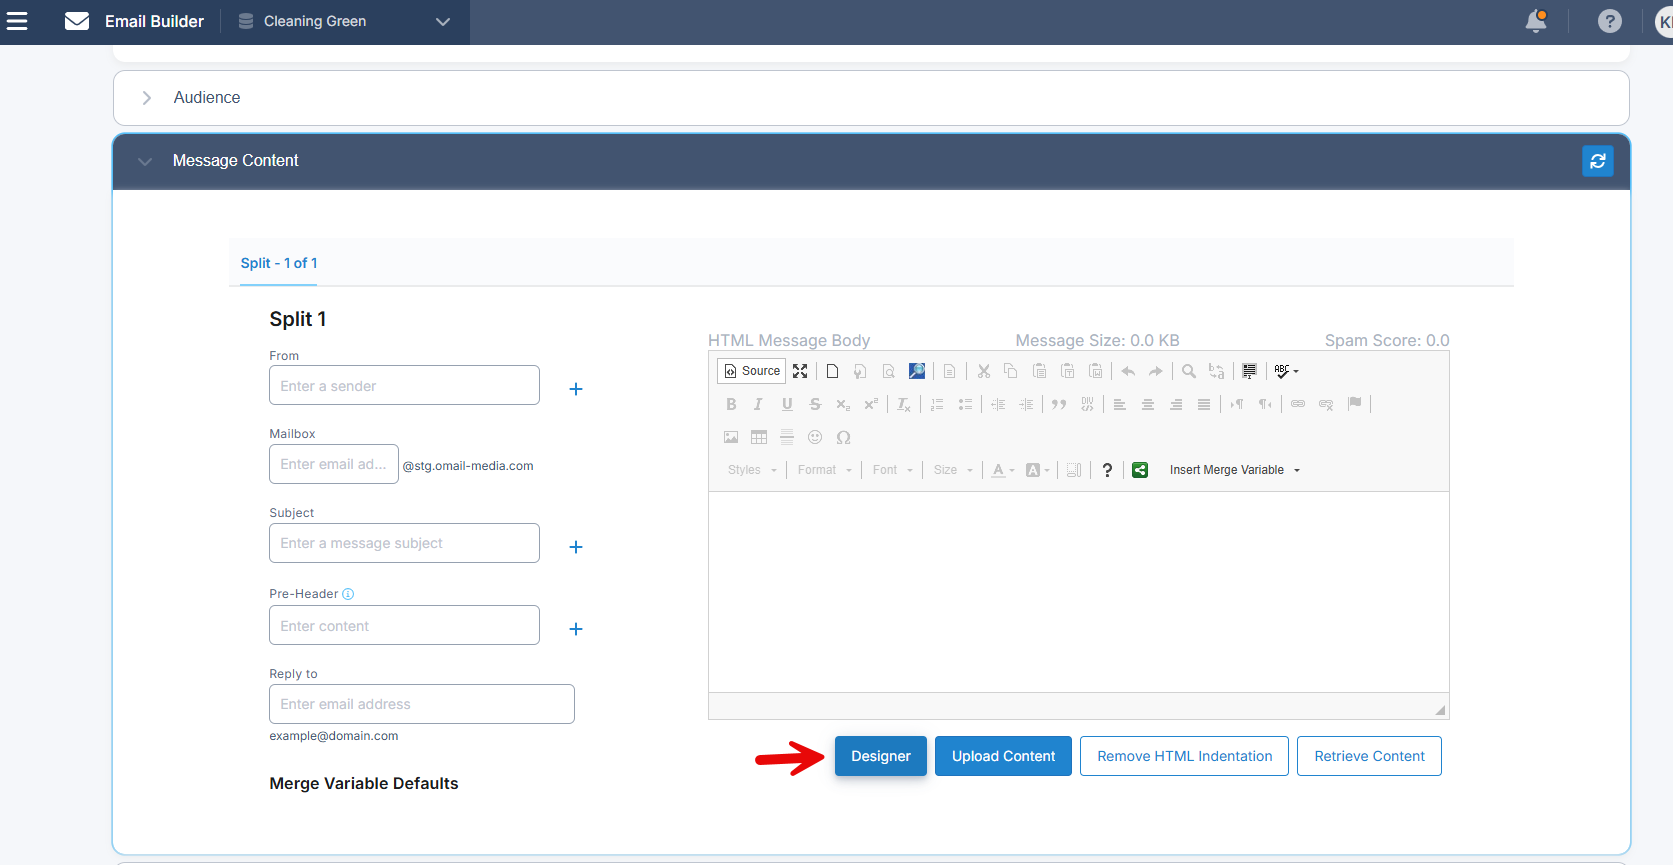
Designer button in the Message Content pleat
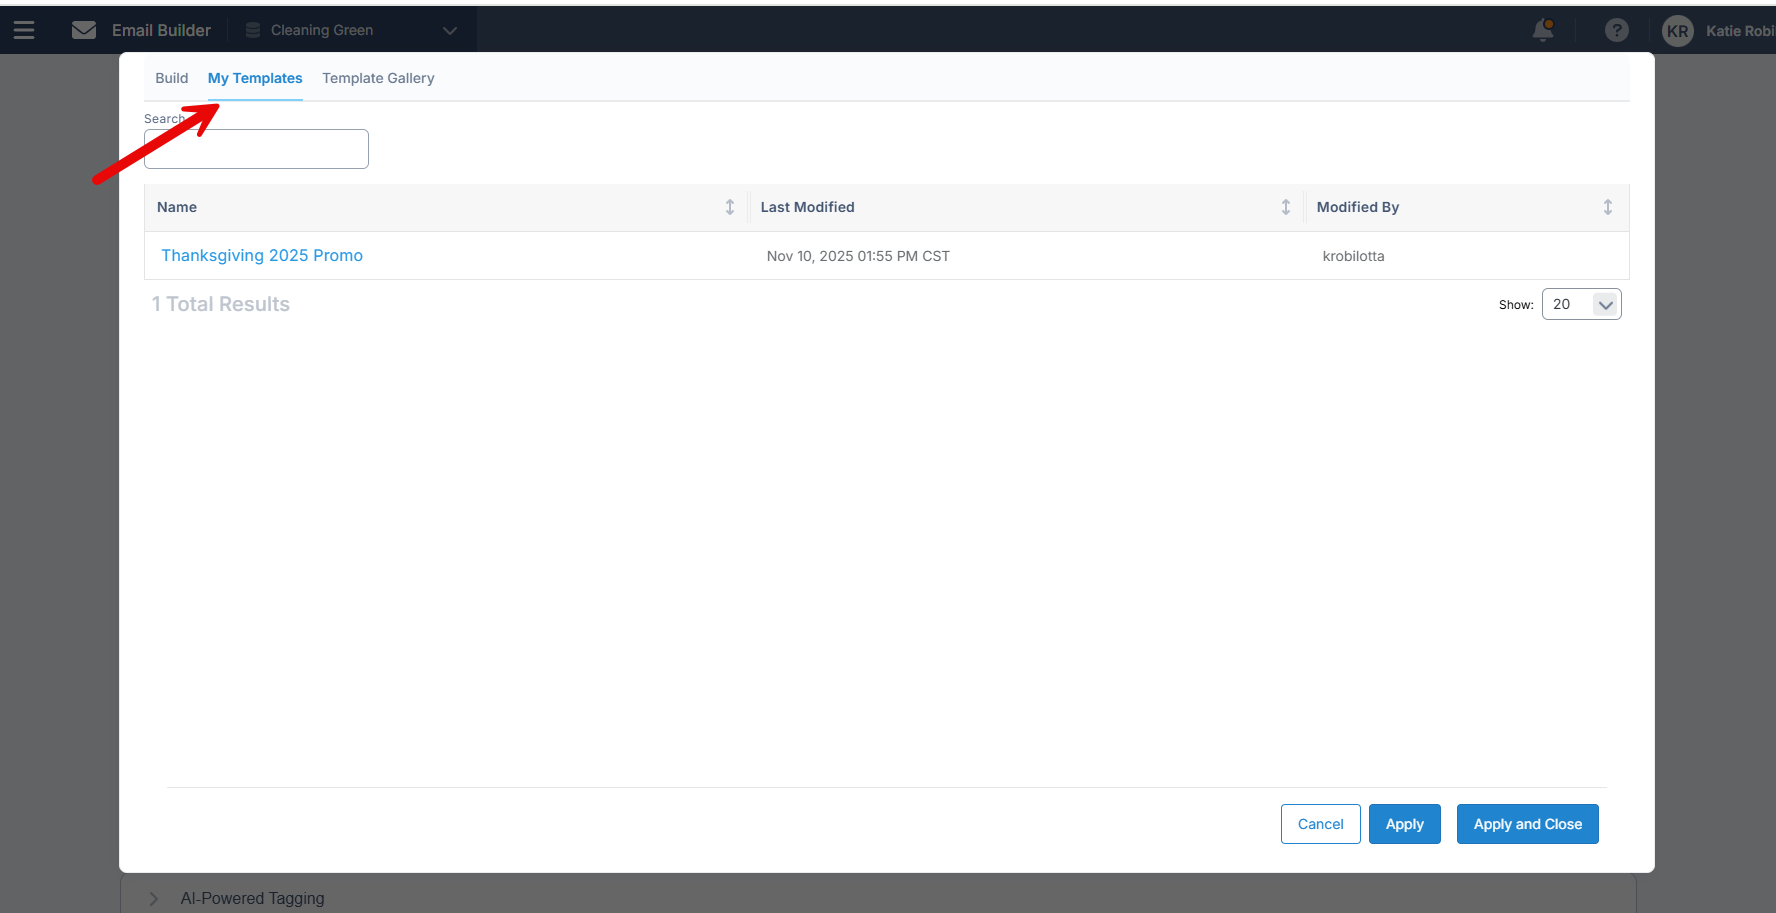
My Templates tab in Designer tool
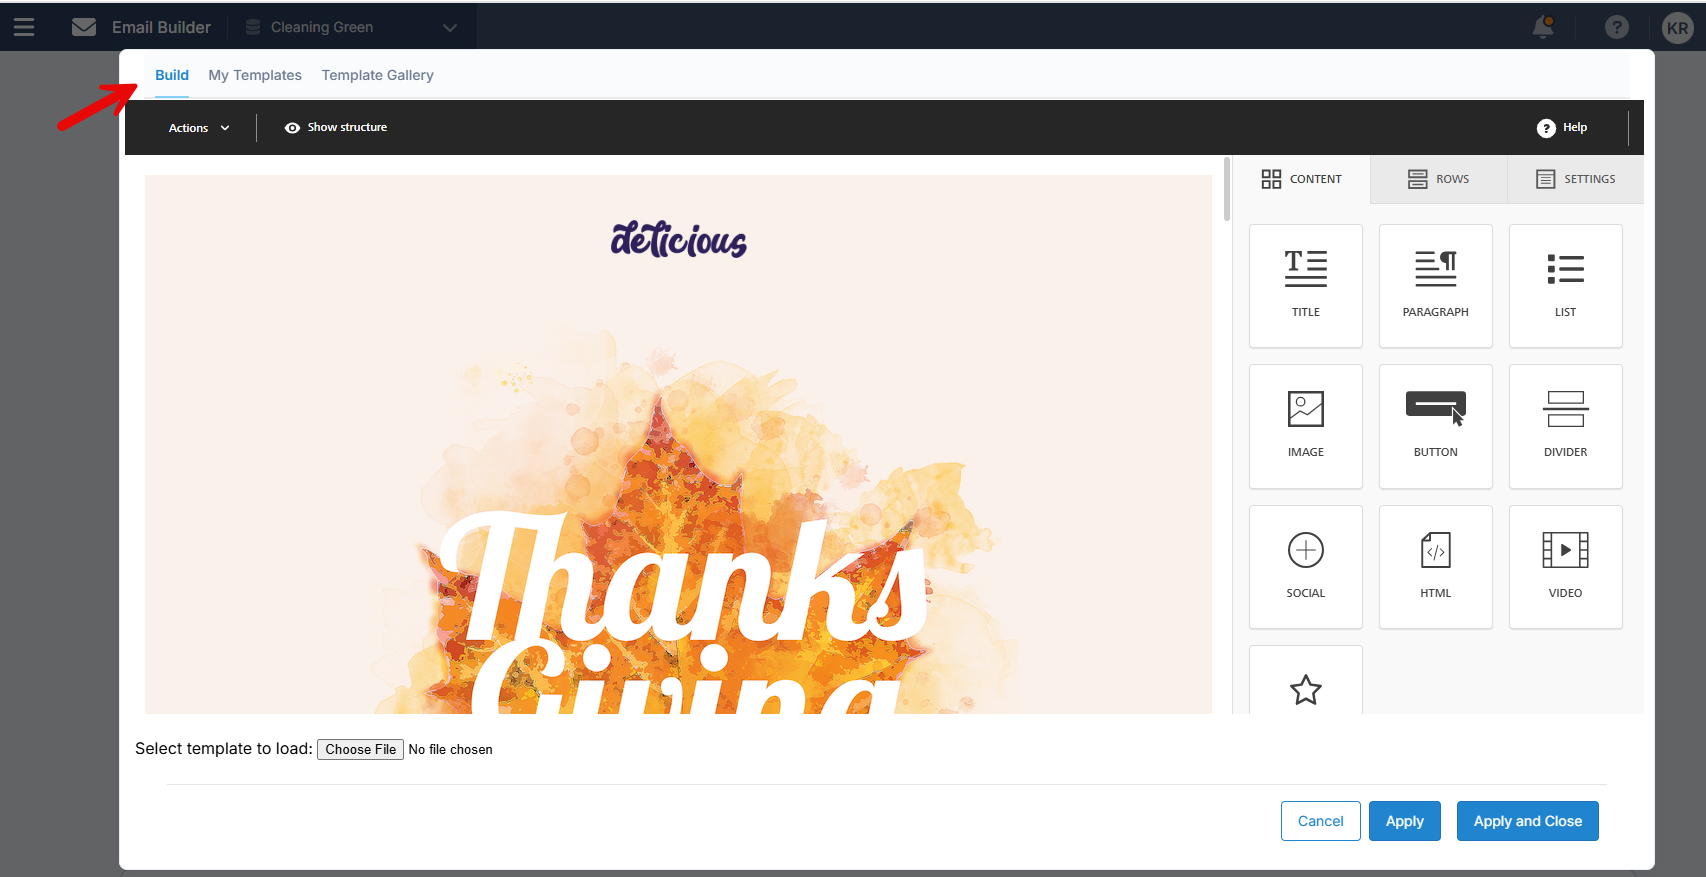
After selecting the template, user will land in the Build tab to make further modifications
-
-
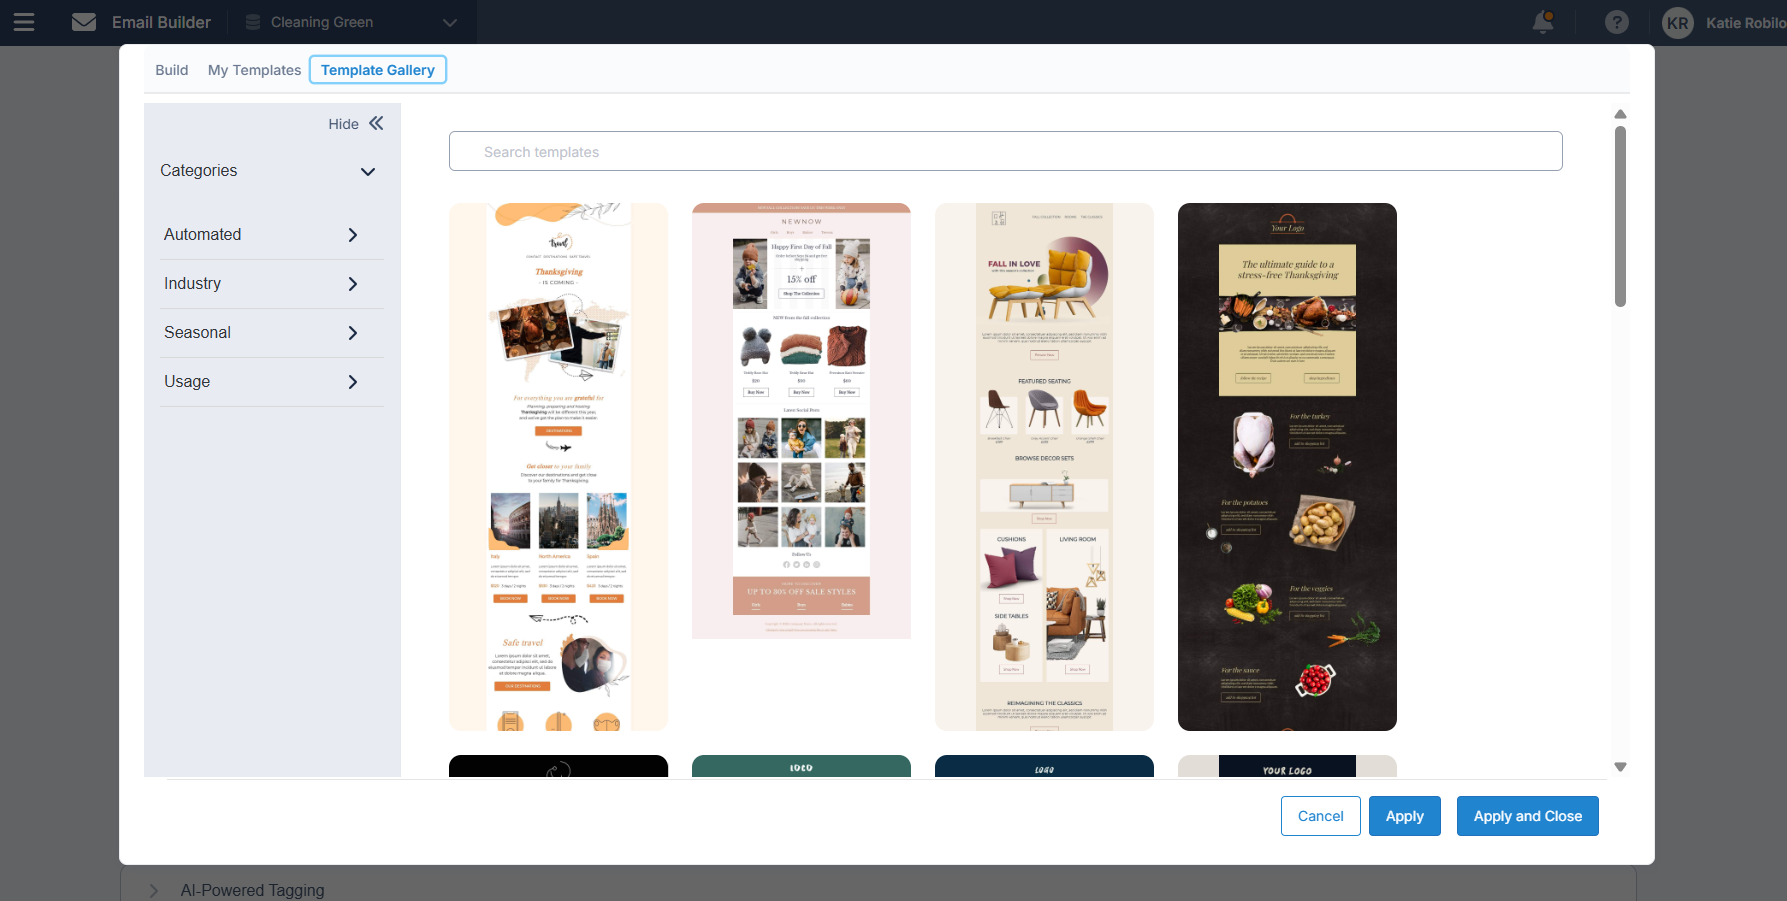
Explore the Template Gallery
-
You can also browse and select a predesigned template directly from the “Template Gallery” tab available in the Designer tool of Email Builder, Odyssey, and Form Builder Email Confirmations.
-
-
Once a template is selected, any required modifications are made, and user selects the Apply and Close button in the Designer tool, the content will be applied to the email, form builder confirmation, personalization, or meter (depending on what you are building).
Considerations
-
Once you select a template in an app’s Designer tool (such as Email Builder, Odyssey, Form Builder Email Confirmations, Personalization, or Meter), any edits made there will only apply to that specific instance — they won’t update the original template.
-
To make permanent changes that apply to future use, edit the template directly in Content Management → Designer Templates.
-
-
Because Personalization and Meter templates don’t have a Template Gallery (as of yet), users can only start from a blank template or upload one that’s already been created. The upload option only supports JSON files at this time.
What’s Next?
Here’s a sneak peek at what’s coming soon:
-
Template selection in Odyssey: Choose a template or browse options from the Template Gallery.
-
Custom template organization: Arrange and manage your templates in the way that works best for you.
Table of Contents