Email – Preference Page
Overview
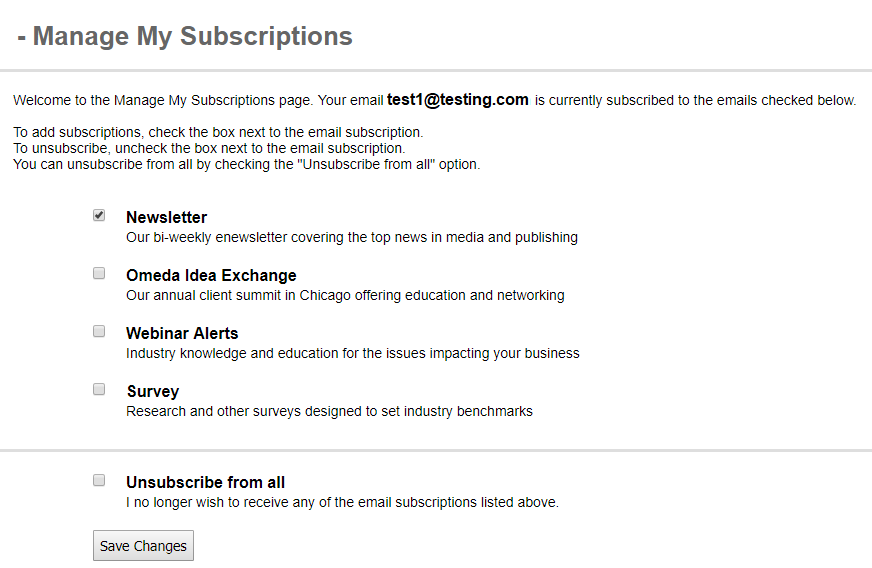
A preference page is where your email subscribers can 1) learn about the various newsletters and deployments you offer and 2) opt-in and out of each one of them. By providing this information all on one page for your email subscribers, you can easily educate your audience, collect their email permission and ultimately lower spam complaints.
You may create various preference pages within each brand. For example, one preference page may include mainly newsletter selections and exclude your third party mailings while another preference page may include all deployment types of yours. Once the preference pages are setup, you can insert this page as a merge variable link into some or all of your deployments.
NOTE: The opt-in indicator that will pre-populate on a recipient’s preference page is reading the Filter setting for that email address. If you are not storing specific opt-in requests for deployment types such as webinars, 3rd party, etc., the checkbox will not be pre-checked. The only exception to this is that Omeda will automatically pre-check the box for the deployment type that the email is sent from. That will allow the recipient to easily opt-out.
Creating a Preference Page
You can create as many preference pages as you want. For each preference page, you can select which deployment types to be displayed. In addition, you can provide a description for each deployment type to assist your subscribers in deciding whether to opt-in or out of it.
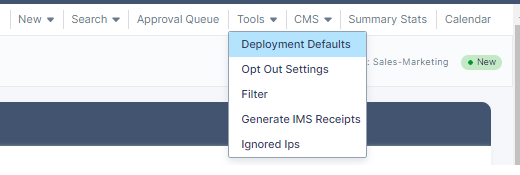
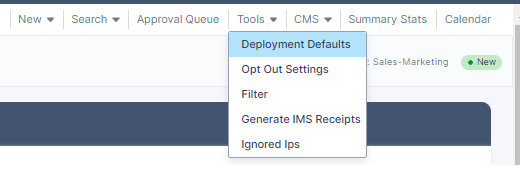
In the Omail application, click Tools > Deployment Defaults.
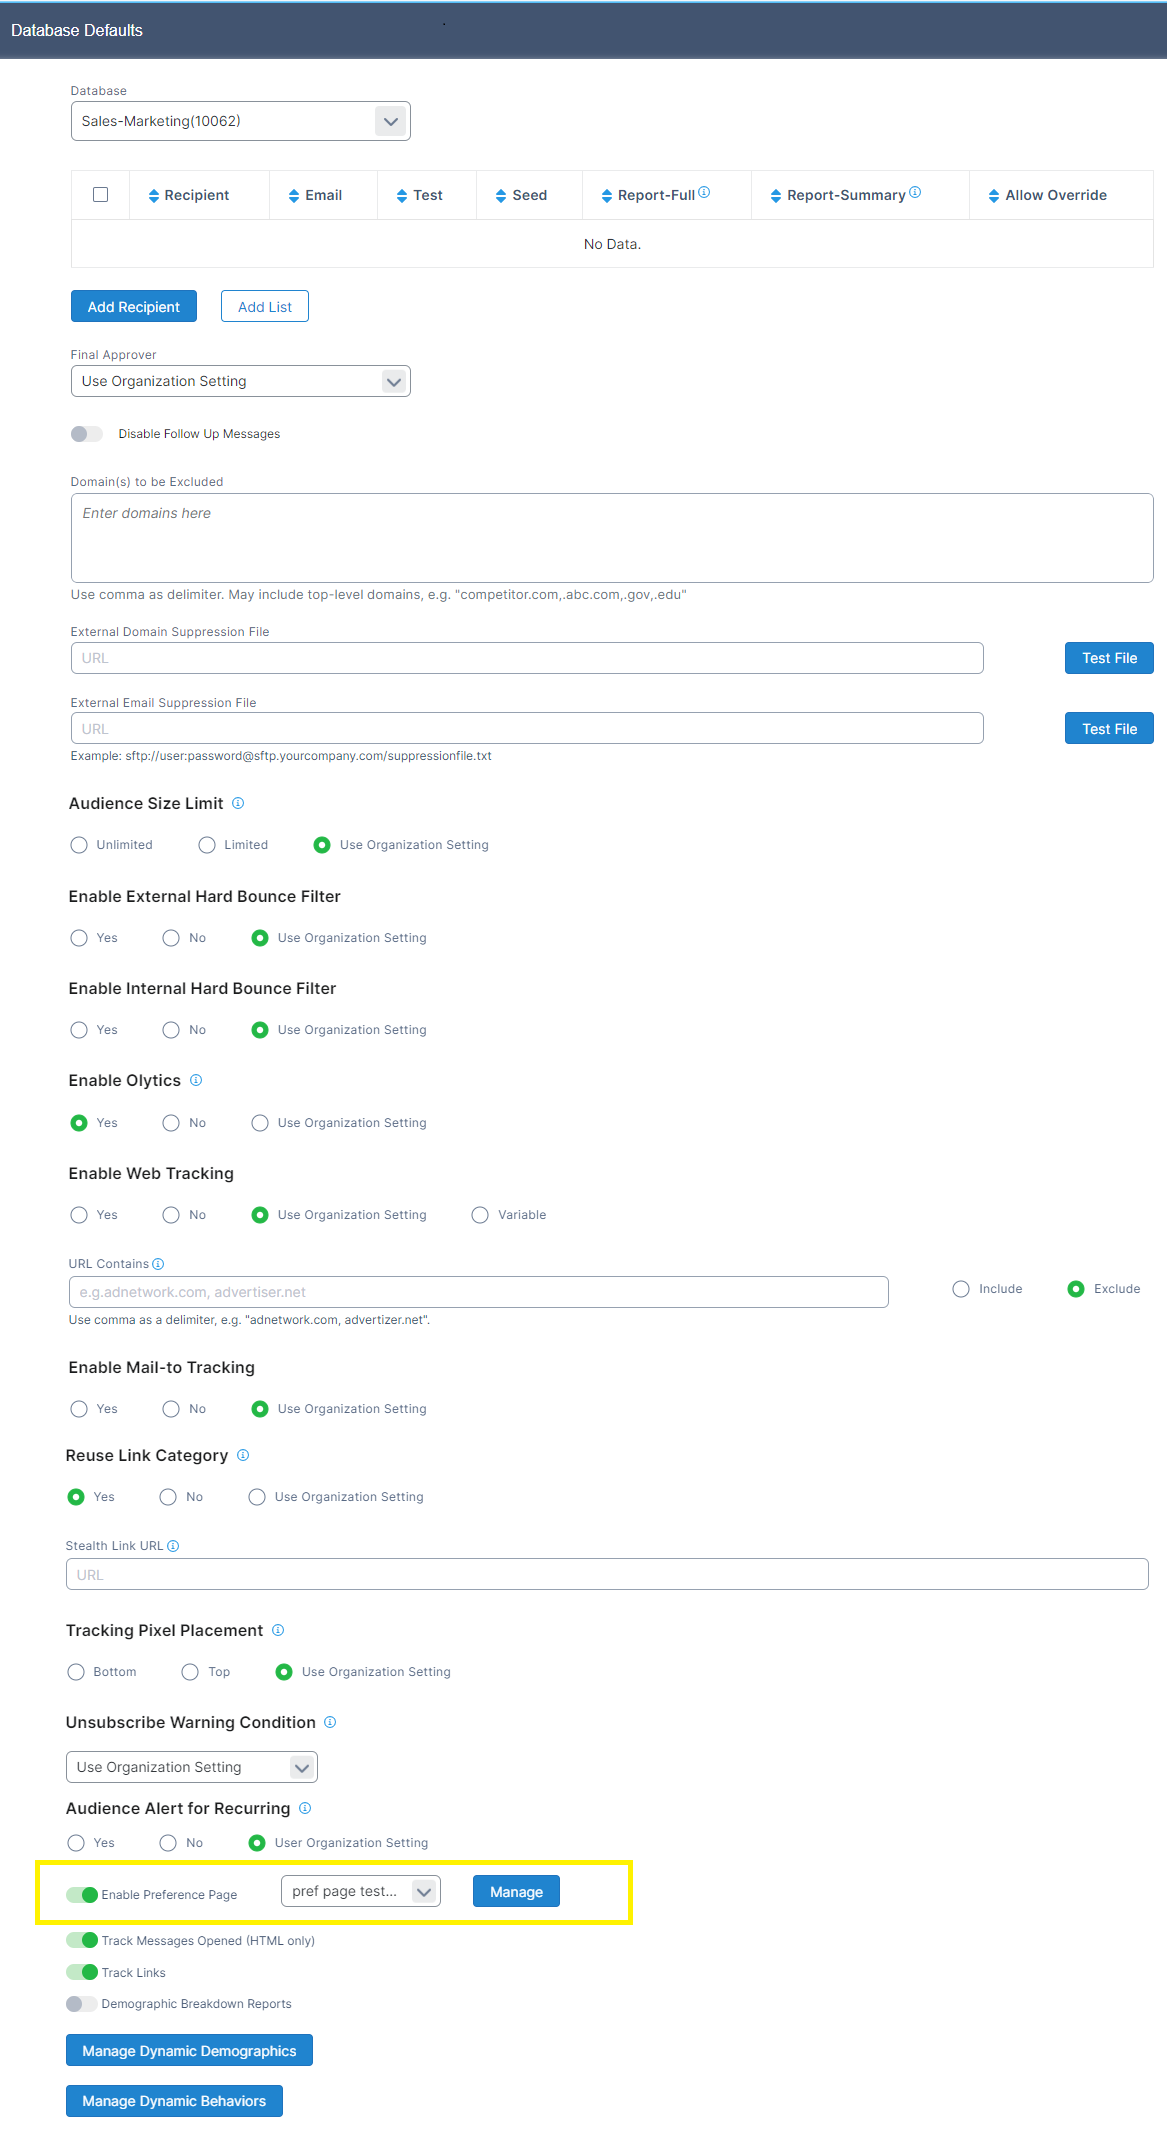
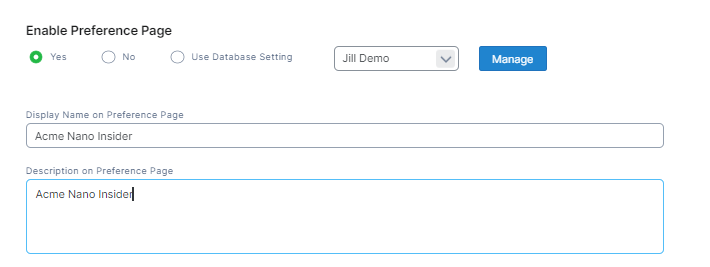
Select your Organization and then your Database. Check “yes” to Enable Preference Page. Click the (manage) link to go to the Preference Page Configuration tool. (Note: the Preference Page Configuration tool is also accessible from the Deployment Type default pleat.) For complete instructions on Database defaults versus the Deployment type defaults, please reference here.
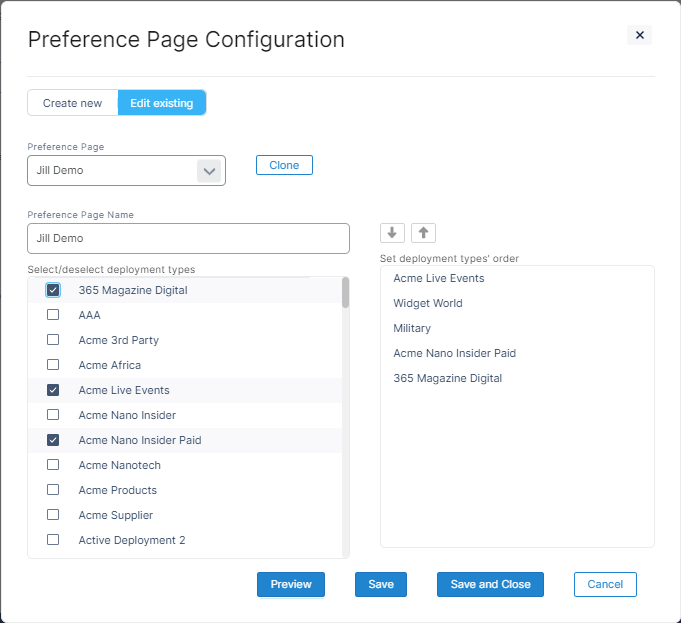
In the Preference Page Configuration pop-up,
Enter the name in the Preference Page Name field. This is the name you can search your page by in the future.
Click on any of the Available deployments types in the left and then click Add to add them into your page.
Use the up and down arrows to change the sequence of the deployment types you want to be displayed on your Preference Page. Use the remove button to remove any added deployment types.
Click “Preview” at the bottom of the configuration tool to preview your Preference Page. Click “Save and Close” to return to the default settings page, where you can assign the preference page to the brand or specific deployment types.
You can change the Display Name of the deployment type so that it appears in the branded format of the actual deployment. Ensure you have a description entered for each deployment type to help your subscribers decide whether to opt-in or out. Select your deployment type, enter the name you want to appear on the preference page and its description. If you don’t update the name, the name of the deployment type name will appear on the preference page. You also need to select ‘Yes’ for Enable Preference Page on each deployment type. If you have created multiple preference pages, please make certain to select the correct one for that deployment type. Don’t forget to click the “Save Changes” when done. Repeat this step for every deployment type you’d like to display in a preference page.
Adding Your Preference Page to your Deployments
Once you have created a Preference Page, you can automatically assign this page to all emails at the brand level or deployment type level by using our default options. After assigning it, your last step is to add this Preference Page link as a merge variable within your email message content.
In the Omail application, click Tools > Deployment Defaults.
Go to your Organization or Brand and Deployment Type default. Check “yes” for Enable Preference Page and then select the preference page you want to set as your default. If you set it at the Brand level, ensure your Deployment Type default inherits its setting. As a reminder, let’s say you have setup “Preference Page 1”. If you are assigning “Preference Page 1” to deployment type “Newsletter”, then ensure “Newsletter” is one of the deployment types added into “Preference Page 1”.

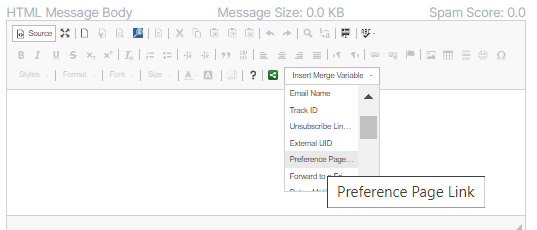
Now that you have assigned the Preference Page, you still have to insert the Preference Page link as a merge variable in each deployment. Open your Omail message and expand the Message Content pleat. Use the Merge Variable dropdown to insert the Preference Page Link into your message content.
Reviewing the Preference Page Results
To quickly review the unique and gross clicks of the Preference Page link within a specific the deployment, review the Deployment Delivery Report.

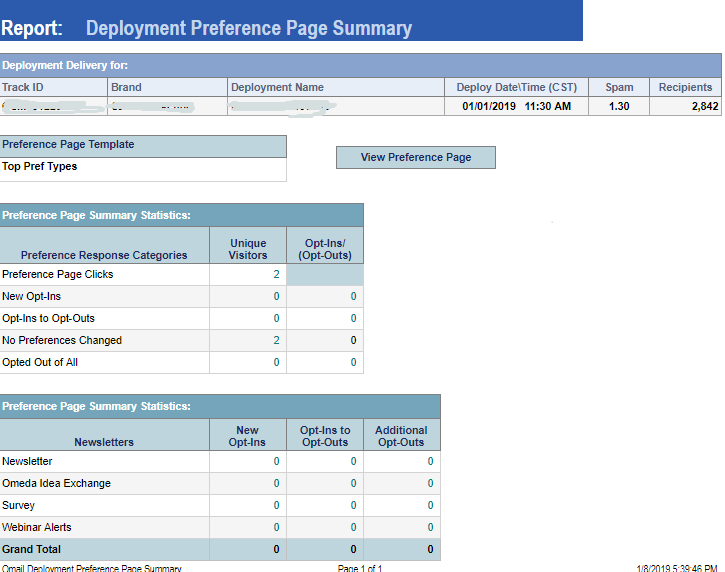
To get specific details on which deployment types the users opted in and out of from the Preference Page, click View Preference Page Report. In the Deployment Preference Page Summary, you can get summarized data on how many opt-ins and outs you have and for specific deployment types.
Cloning Your Preference Page
To save you time, you may clone an existing Preference Page and modify it. Cloning is accessible within the Preference Page Configuration Tool, which is available via Omail/Tools/Default Settings (Brand & Deployment Type pleats have a link).
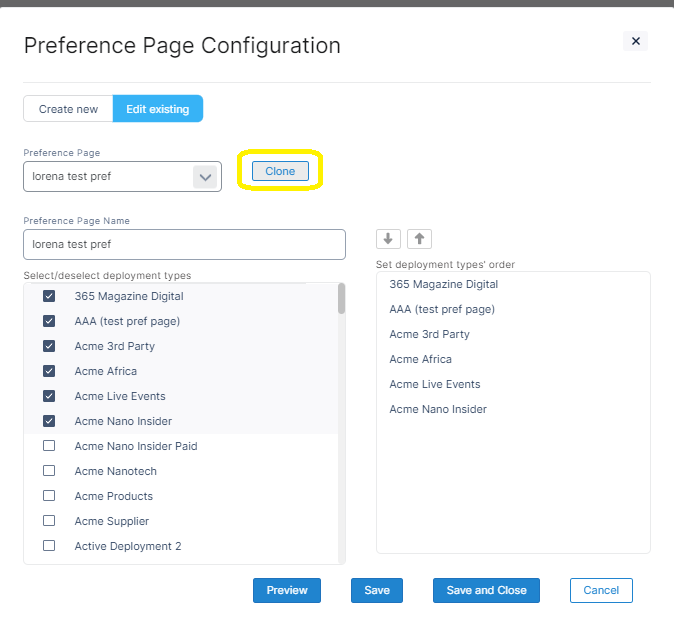
Select the Preference Page you want to clone from and click (manage).
In the Web Tracking Configuration pop-up, click Clone in the upper right corner.
Enter a new Preference Page Name, modify any of the details and click Save and Close.
Table of Contents
