
The Personalization element can be added to any Omeda Journeys if your database uses Omeda’s CDP solution, otherwise known as Olytics. This element will allow you to create a modal that will display on your sites to the element visitors. The Customer Id field must be included in your Audience Source files for this element to function as expected.
After adding a Personalization element to your Journey canvas and clicking the element, the Journey creator can then setup the Personalization via the element inspector on the right side of the canvas.
Using the Personalization Element
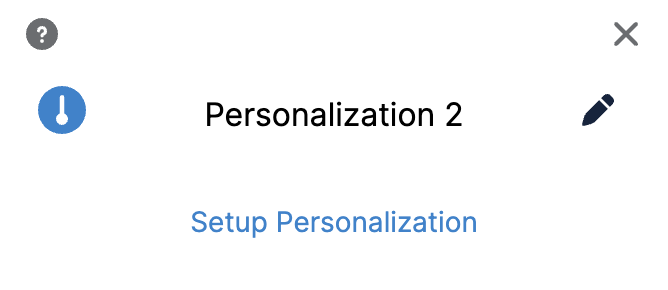
To begin creating your Personalization, click Setup Personalization. This will redirect you to the Personalization setup.
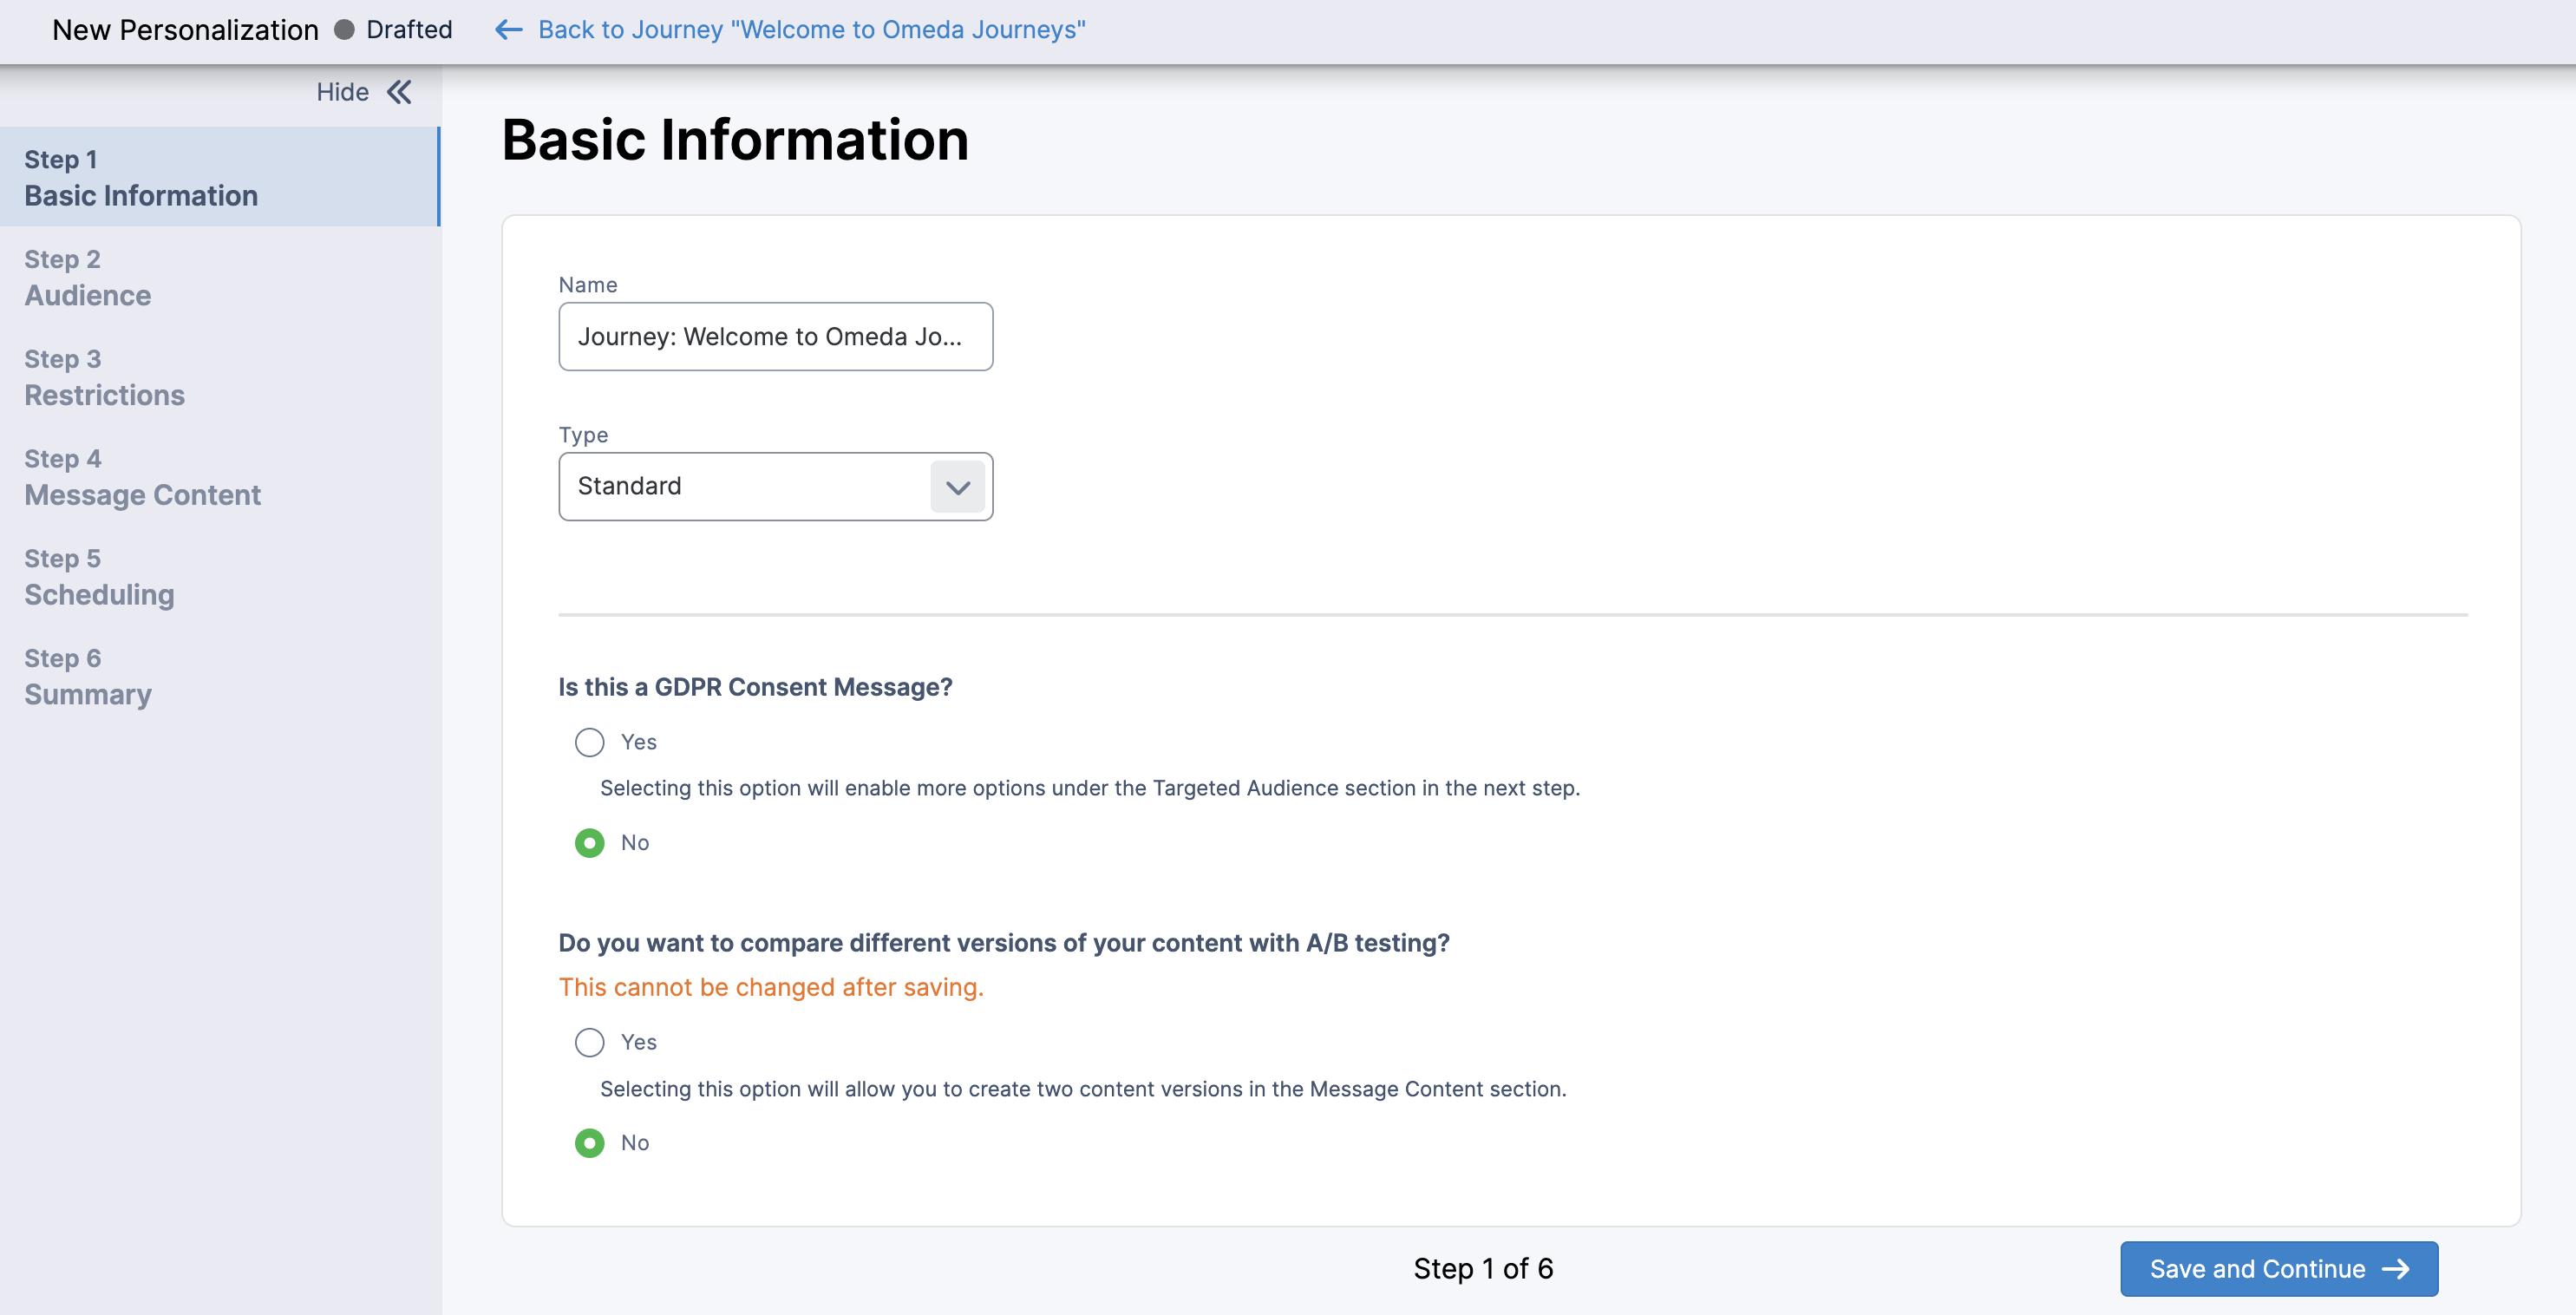
For more information on how to setup your personalization, see the Personalization Overview article.
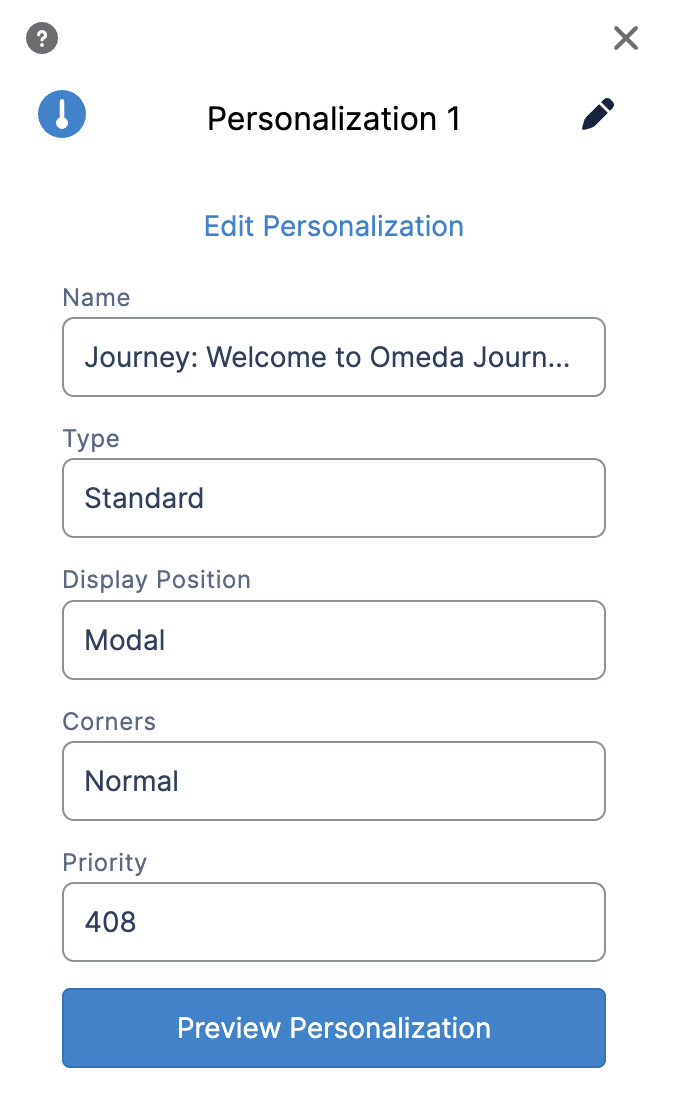
The Personalization element will now display the Personalization Name, Display Position, Corner Setting, and Priority.
You can click ‘Edit Personalization’ to make any changes to your Personalization content at any time.
On-Canvas Reporting
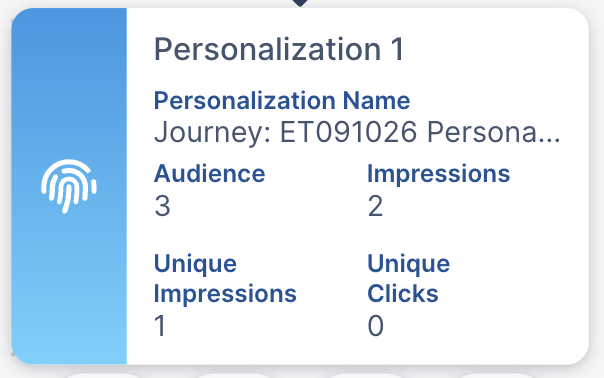
When a Journey is In Progress or Done, you can toggle the Report View toggle on to view the visits to each element. For the Personalization element, you can also see the Impressions, Unique Impressions, and Unique Clicks.
Connections and the Personalization Element
Each element in a Journey can be connected to and from a subset of other elements. The available connections for the Personalization Element are listed below.
|
These elements can connect to a Personalization element |
These elements can be connected from a Personalization element |
|---|---|
|
Schedule
|
Wait
|
Table of Contents