CDP - Personalization – Reporting
Reporting on Personalization jobs can be done a few different ways: Overall stats and charts within the tool itself, individual job queries in Audience Builder and through Reports & Analytics under Web Behavior.
The stats and charts within the Personalization tool will show the total # of clicks and impressions while Audience Builder shows the # of customers who have seen/clicked at least once. The Report will provide a summary view across all Personalization jobs.
Reporting within Personalization
Within the tool itself, there are two ways to access reports for a personalization job. The first is by selecting ‘View Report’ from the Actions drop down to the right of the personalization job in question:
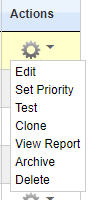
You will be able to click on the ‘View Report’ option when a personalization is in one of the following statuses:
Active
Passed End Date
Paused
The second way you can access the reporting is within the Edit Personalization screen by selecting the ‘Click / Impression Report’ button:

Available Reports within Personalization
The reports are in both graph and chart format. Each report and associated chart can be exported to a PDF by selecting the ‘Output to PDF’ option in the upper left-hand corner.

Depending on who your personalization job is targeting and if you have click-tracking turned on, the following reports will be available as the job begins to fire.
Reports:
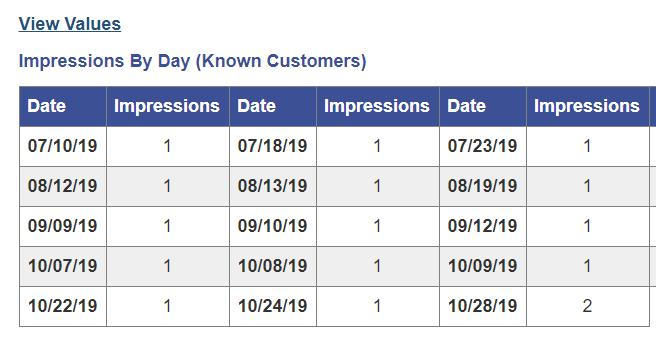
Impressions by Day (Known Customers)
Impressions by Day (Anonymous Traffic)
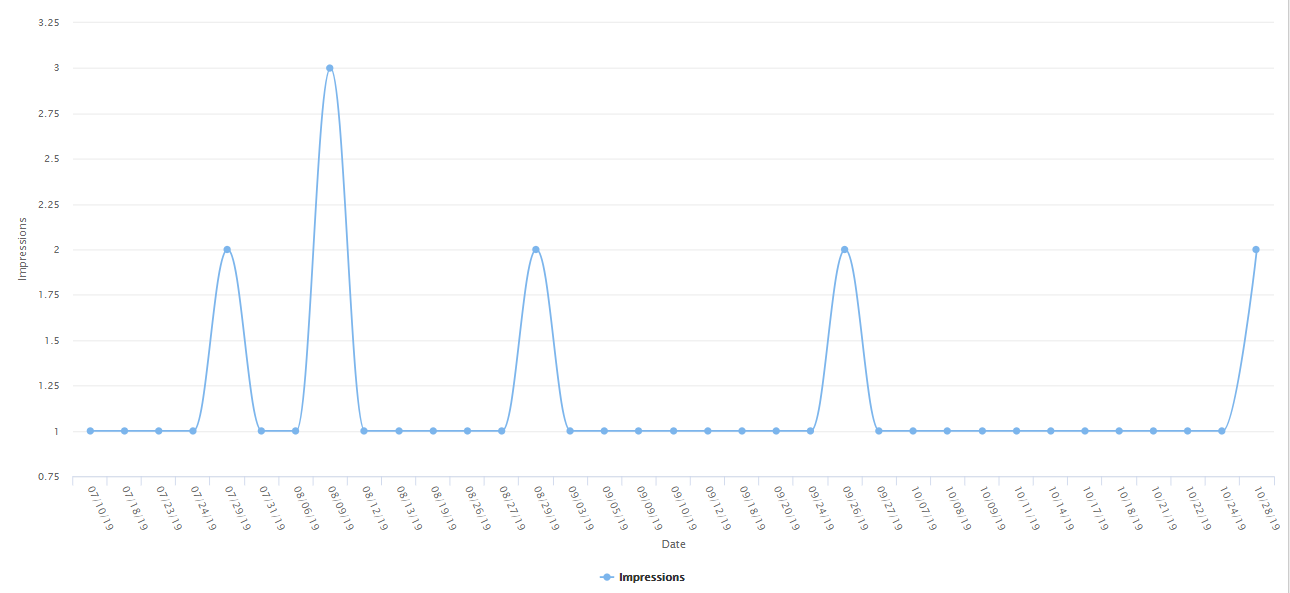
Impressions Per Url (Top 20 Shown – Known Customers)
Impressions Per Url (Top 20 Shown – Anonymous Traffic)
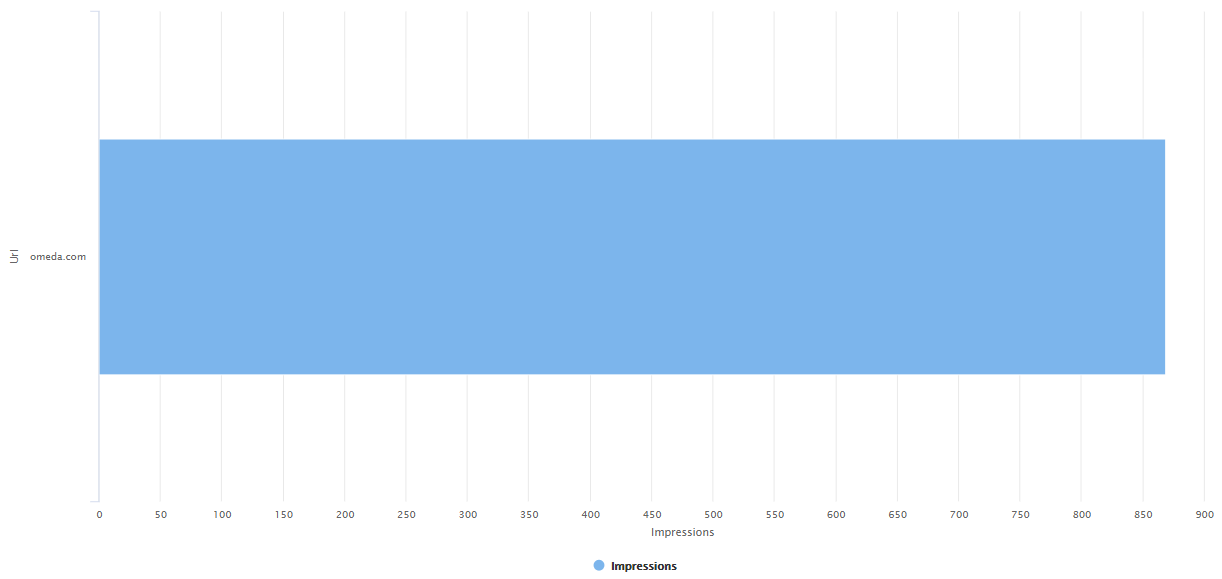
Impressions Per Entry Point (Top 20 Shown – Known Customers)
Impressions Per Entry Point (Top 20 Shown – Anonymous Traffic)
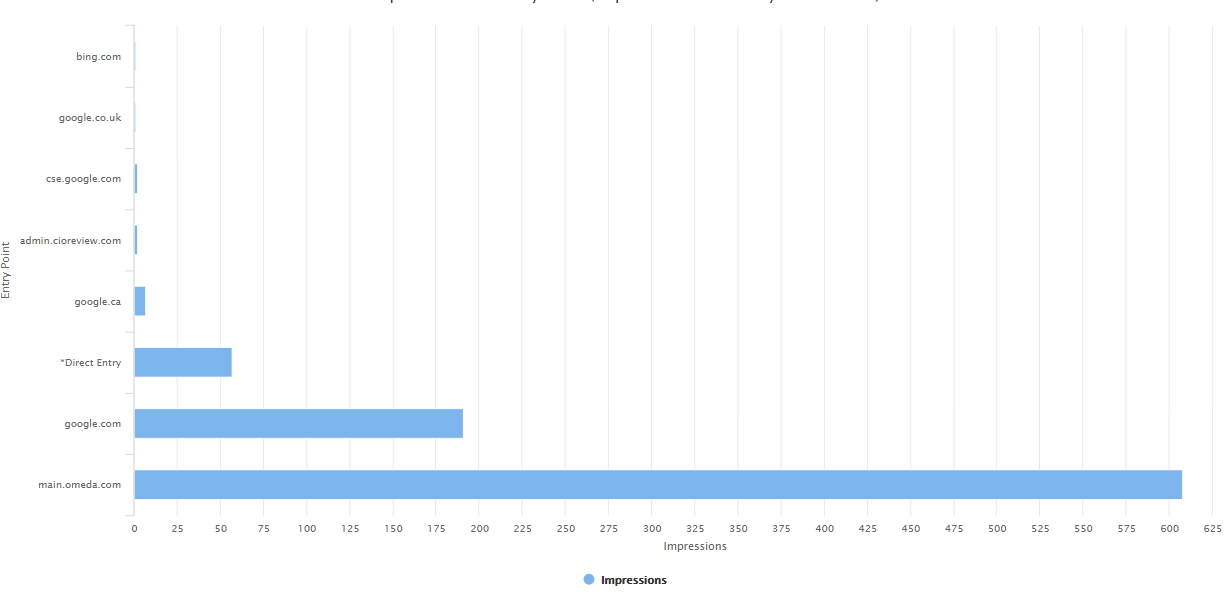
Link Clicks by Day (Known Customers)
Link Clicks by Day (Anonymous Traffic)
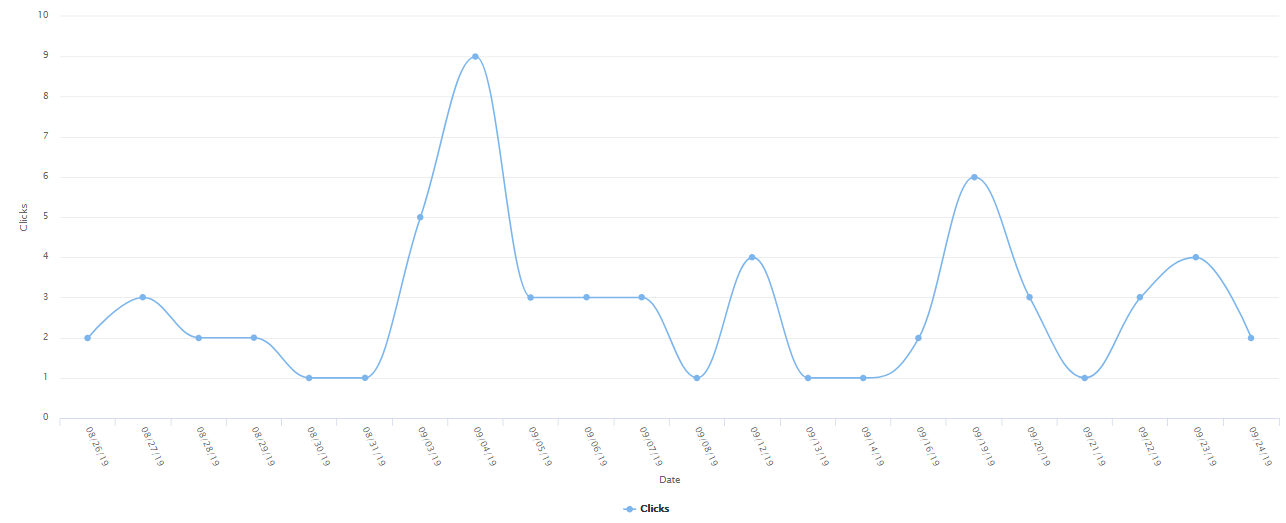
If you are running personalization jobs across multiple URLs, the following reports are also available:
Clicks per host URL (Known Customers)
Clicks per host URL Tracking (Anonymous Traffic)
Clicks per Trigger URL (Known Customers)
Clicks per Trigger URL (Anonymous Traffic)
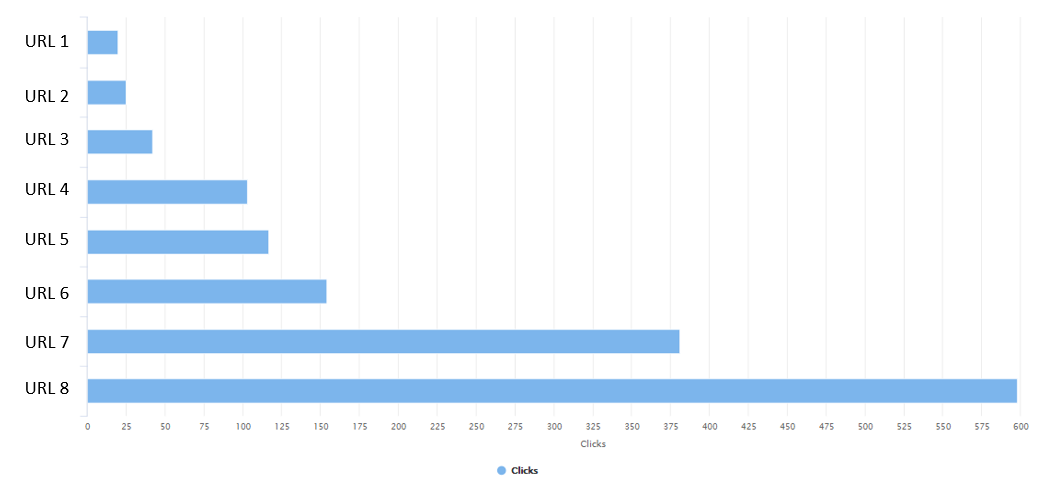
Charts:
To access the charts, you can click “View Values” under each graph on the left-hand side. The impressions-by-day will appear. These are automatically exported whenever you select ‘Output to PDF’.
Reporting within Audience Builder
There are 2 skittles in Audience Builder you can use to pull your personalization data:
Personalization Impressions
Personalization Clicks

Note: If you do not see these currently in your Field Library, please contact your Audience Services team to have them configured in.
How to Query Personalization Impressions:
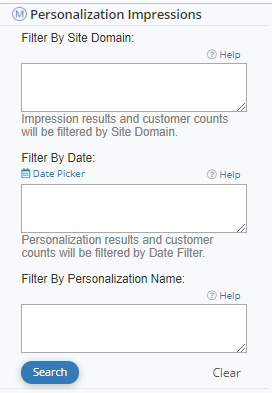
To query impressions, you have 3 options that can be used independently, or combined to pull the desired data.
Filter by Site Domain: This is most relevant when you are running a personalization job across multiple domains. You are able to narrow down the domain in question using this box.
Filter by Date: Enter a date range or static date in order to return the total customer impressions.
Filter by Personalization Name: Enter the exact name (or part of a name with a wildcard *) to return a list of personalization jobs
How to Query Personalization Clicks:
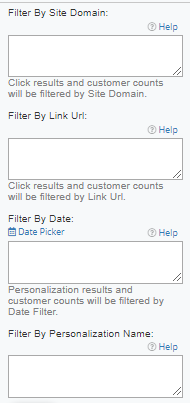
In order to query clicks, you will need to make sure that click tracking has been added to the job. To query clicks, you have 4 options that can be used independently, or combined to pull the desired data.
Filter by Site Domain: This is most relevant when you are running a personalization job across multiple domains. You are able to narrow down the domain in question using this box.
Filter by Link URL: If your job has multiple links or if a single link is used across multiple jobs, you can query by the link itself using this box.
Filter by Date: Enter a date range or static date in order to return the total customer clicks.
Filter by Personalization Name: Enter the exact name (or part of a name with a wildcard *) to return a list of links used in the job(s)
Reporting within Reports & Analytics
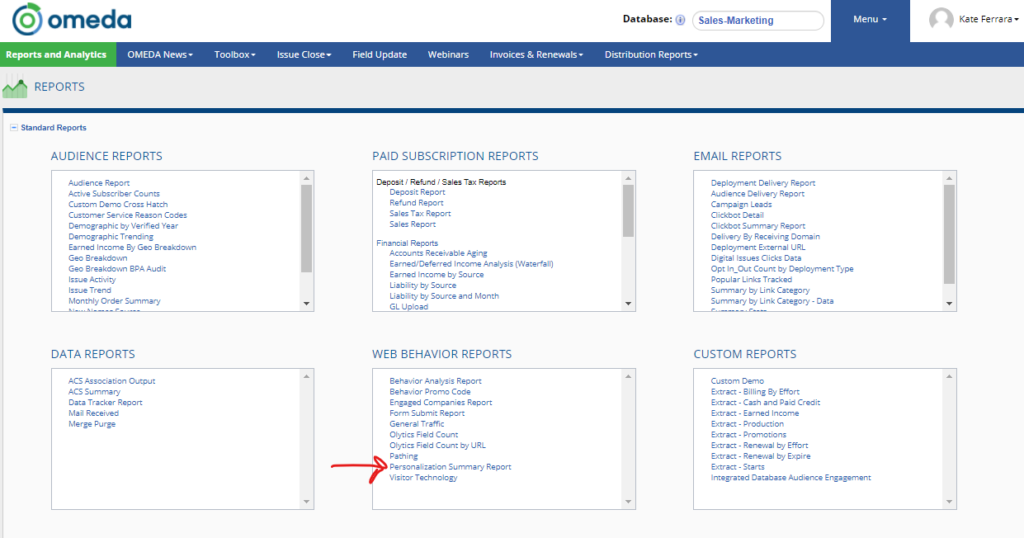
Personalization Summary Report
This will provide a Summary View of Personalizations across the database. This report can be dialed into a specific or broad date range depending on the desired information and will display the following metrics:
Total Impressions: Gross count of impressions for the Personalization.
Known Impressions: Unique count of known people who saw the Personalization
Anonymous Impressions: Unique count of anonymous people who saw the Personalization
Total Clicks: Gross number of clicks on the Personalization
Known Clicks: Unique count of known people who clicked on the Personalization
Anonymous Clicks: Unique count of anonymous people who clicked on the Personalization
Activation Date: Date the job was first made active
Type: Personalization type
Frequency: How often the Personalization is displayed
Current Status: Job status at the time the report is generated
Current Priority: Job priority rank at the time the report is generated
Position: Where the personalization is displayed on the page
Target URLs: Specific sites used to target the Personalization
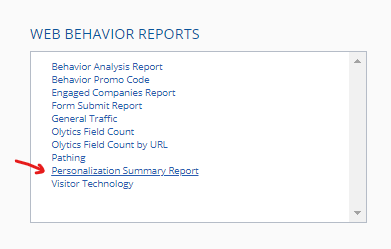
The report is located under the Web Behavior Reports on the Reporting and Analytics page of Omeda’s platform. You may need to contact your Client Success Manager to gain access.
Additional Personalization Query Tips
Querying on iFramed Forms: If you have iFramed a form you are not able to utilize the click tracking feature. However, for Omeda-based forms, you can use the ‘Dragon Sites’* skittle to lookup form submissions. This is best used in conjunction with the Impressions skittle for the best measure of personalization driven submissions.
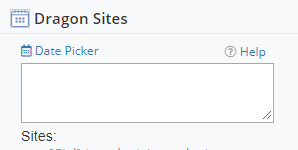
*’Dragon Sites’ may be named something else depending on your Field Library setup. If you are unable to find this field, please contact your Audience Services team.
Querying on Conversions: If your personalization job is tied to a product within your database, you may be able to query on conversions. In order to successfully do so, you’ll need to use a unique promo code in your Personalization job. Looking up this unique promo code in Audience Builder will return the # of customers who converted via the personalization job.
Exporting Query Data: For personalization jobs that are ongoing, you can query the desired data (e.g. impressions, clicks, etc) and set it up to export regularly using the Omeda Lead Gen tool.
Table of Contents
