Form Builder – Create a Form
There are a few ways users can create a new form; clone from an existing form, create from a template, or create from scratch.
Clone from an Existing Form
If you need to build a new form that’s similar to a form that’s already built, cloning that existing form will be your quickest, easiest option. By cloning an existing form, a new form will be created with all the same elements, style, logic, email confirmations, etc. You’ll be able to make any necessary edits to that cloned form.
To clone a form:
Navigate to the Form dashboard
Search for the form you want to clone from
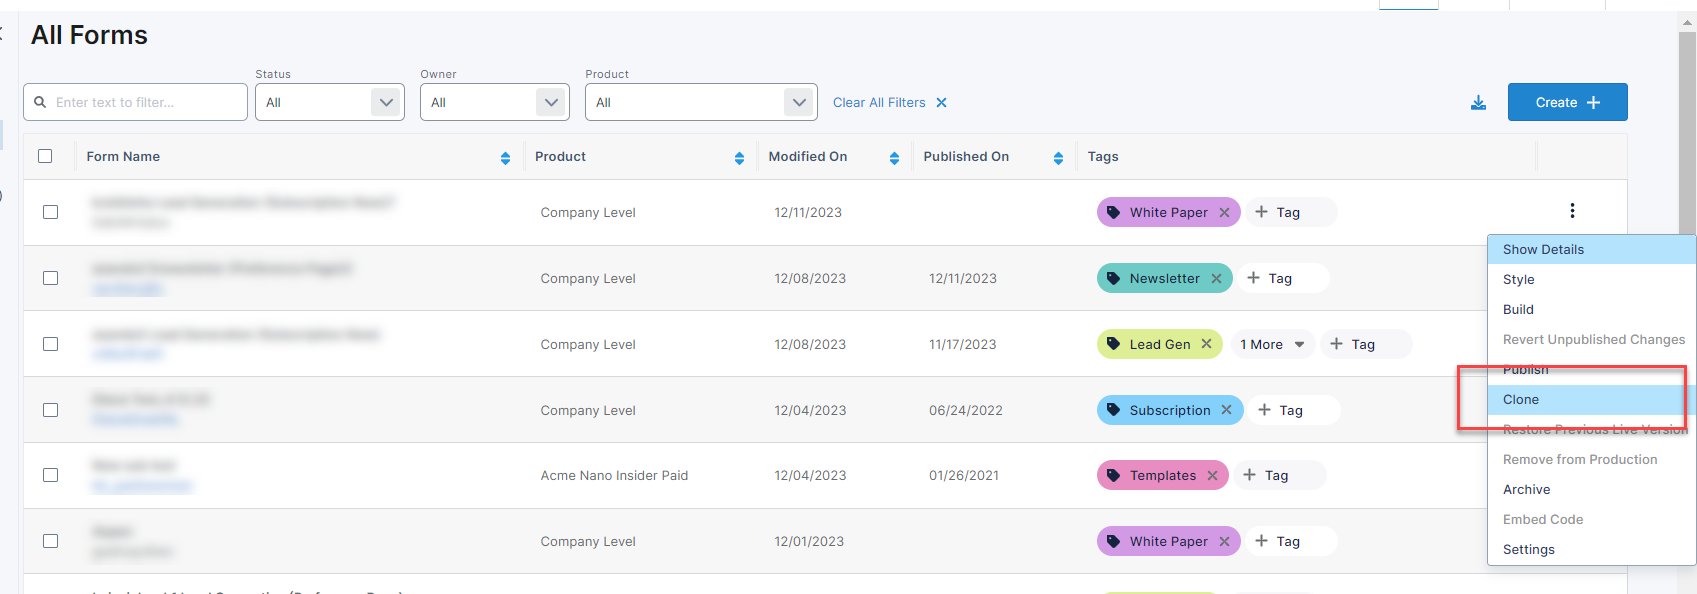
Select the action menu on that form
Select “Clone”
If the form is in “Edit” status, you’ll have the option to clone the Live version of the form or the most recent edited version
You’ll be brought to the settings page of the newly created form. Be sure to update the Form Name and any other settings necessary.
Create a Form from a Template
There are two types of templates a user can select from to quickly build a new form; Generic and Custom.
Generic templates are templates Omeda has created to help give users a jump start creating certain types of forms. Whether you want to create a new Newsletter sign up, lead gen form, or subscription form, Omeda has created a template for each that will include the appropriate fields needed to collect the necessary information for that form type.
To create a new form from a Generic Template:
Navigate to Form Builder
Select the +Create button on the form dashboard

Select Quick Form
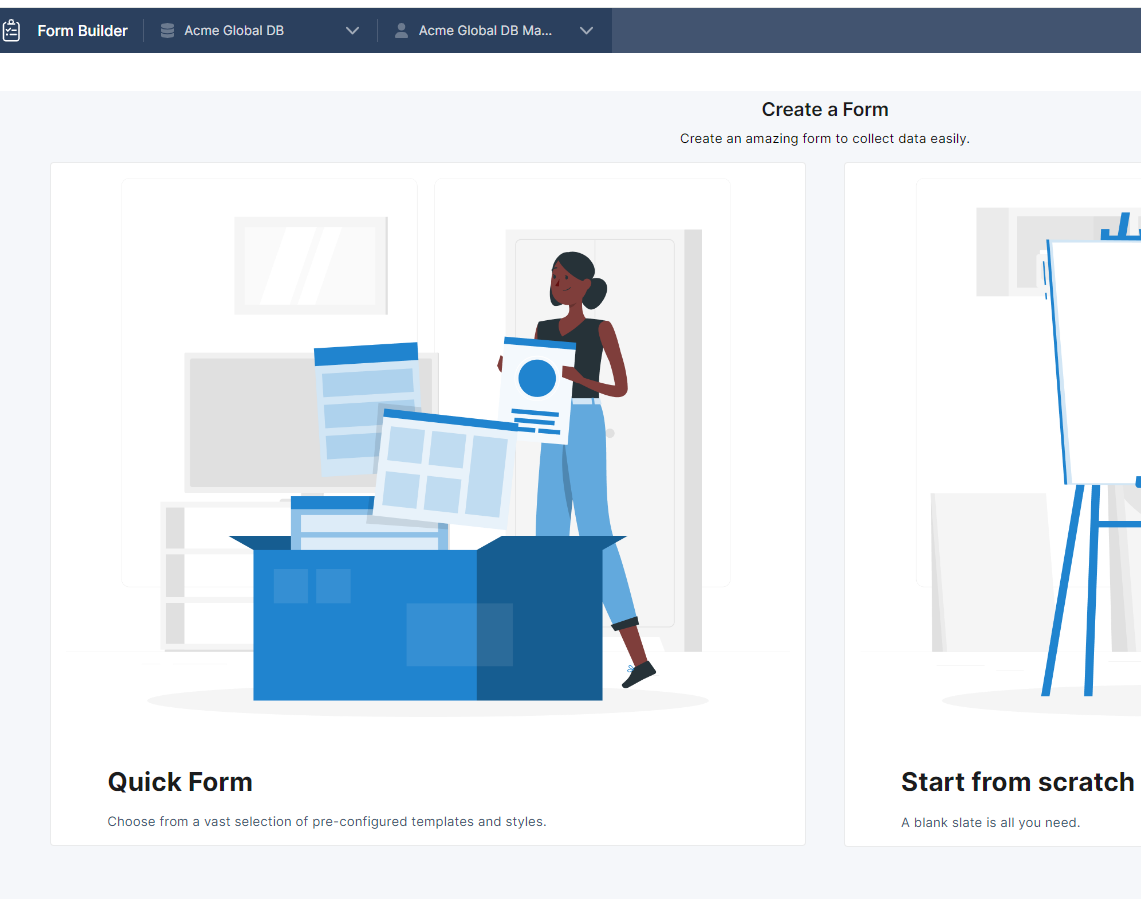
Then, select your Template. This will populate the Form Category and Type fields on the setting page and already have fields pulled on to the form for you. Newsletter and Lead Gen Templates will include simple fields (First Name, Last Name, Email, Promo, etc). In addition, Subscription forms will also include address fields.
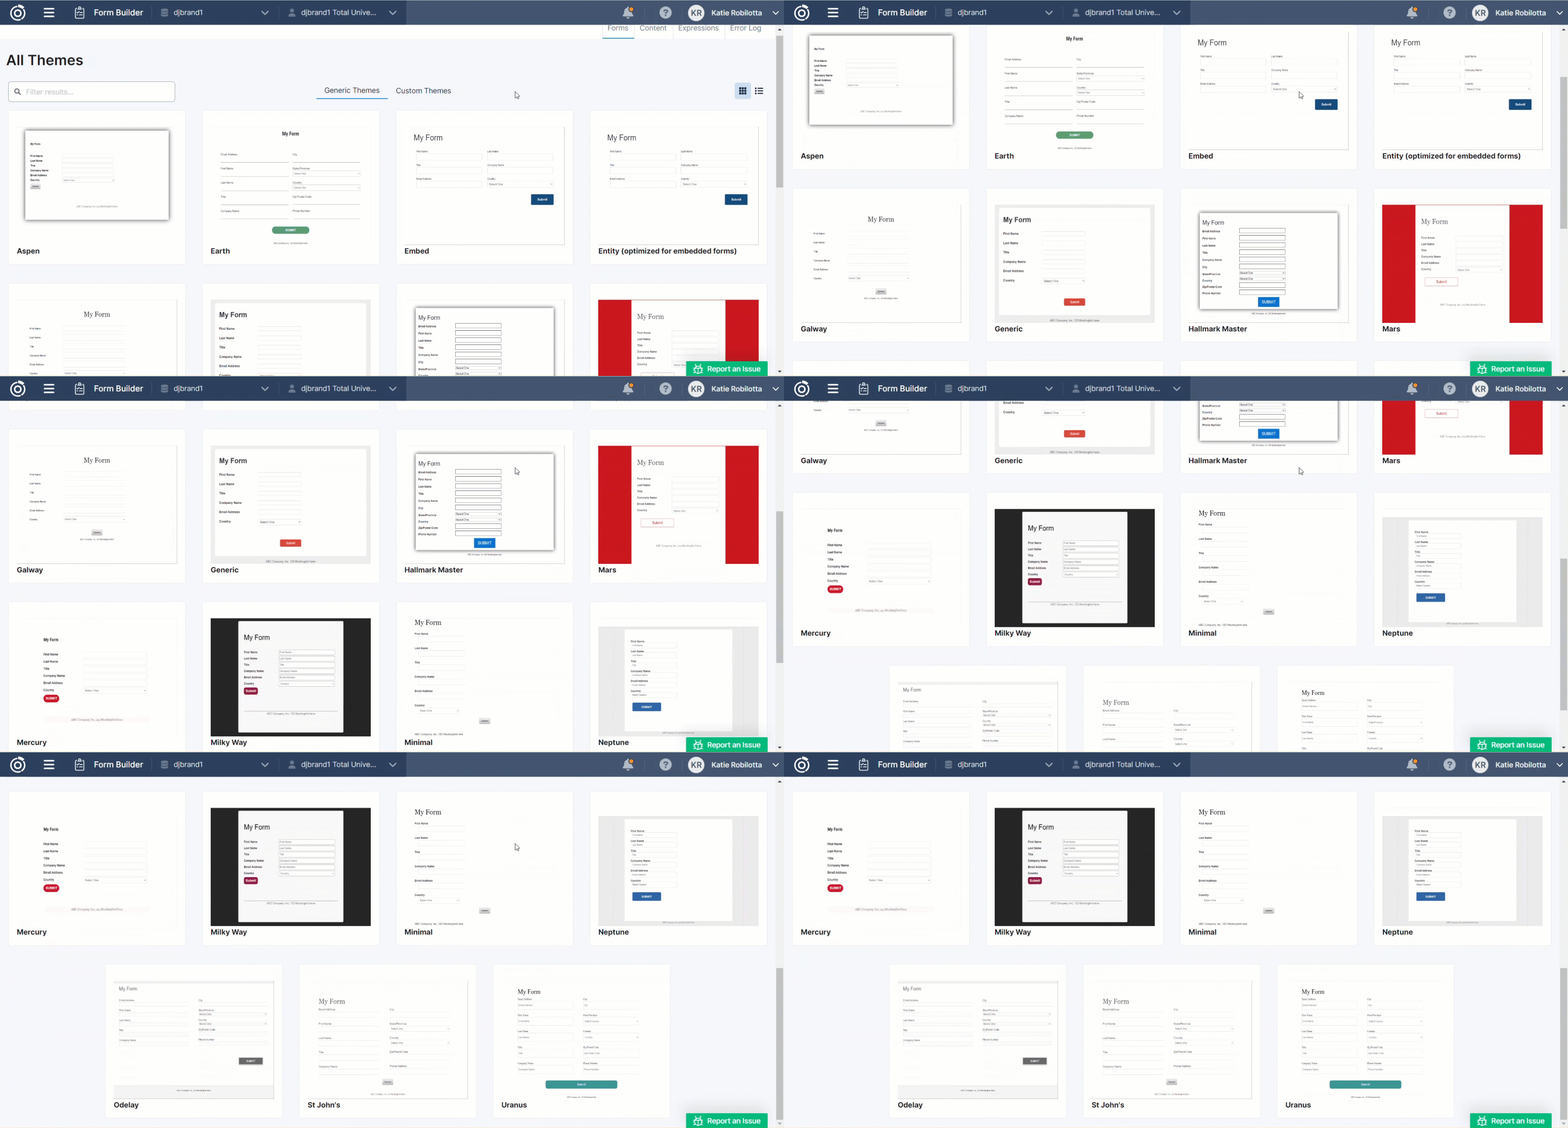
Once you’ve chosen the template, you will be asked to select a Theme. A theme is the layout and design of the form. This will give you a starting point on how you want your form to look.
Next, you’ll land on the new form’s Settings page. Update anything necessary here and select Save.
Navigate to the Build tab to add or update any fields.
Save and Publish when ready.
Custom templates are templates created by you and other users within your organization. There may be a particular form that other users should use as a starting point when creating new forms. That form can be designated as a template, making it easier to find and choose when creating a new form.
To designate a form as a template:
Navigate to the Settings page of the form
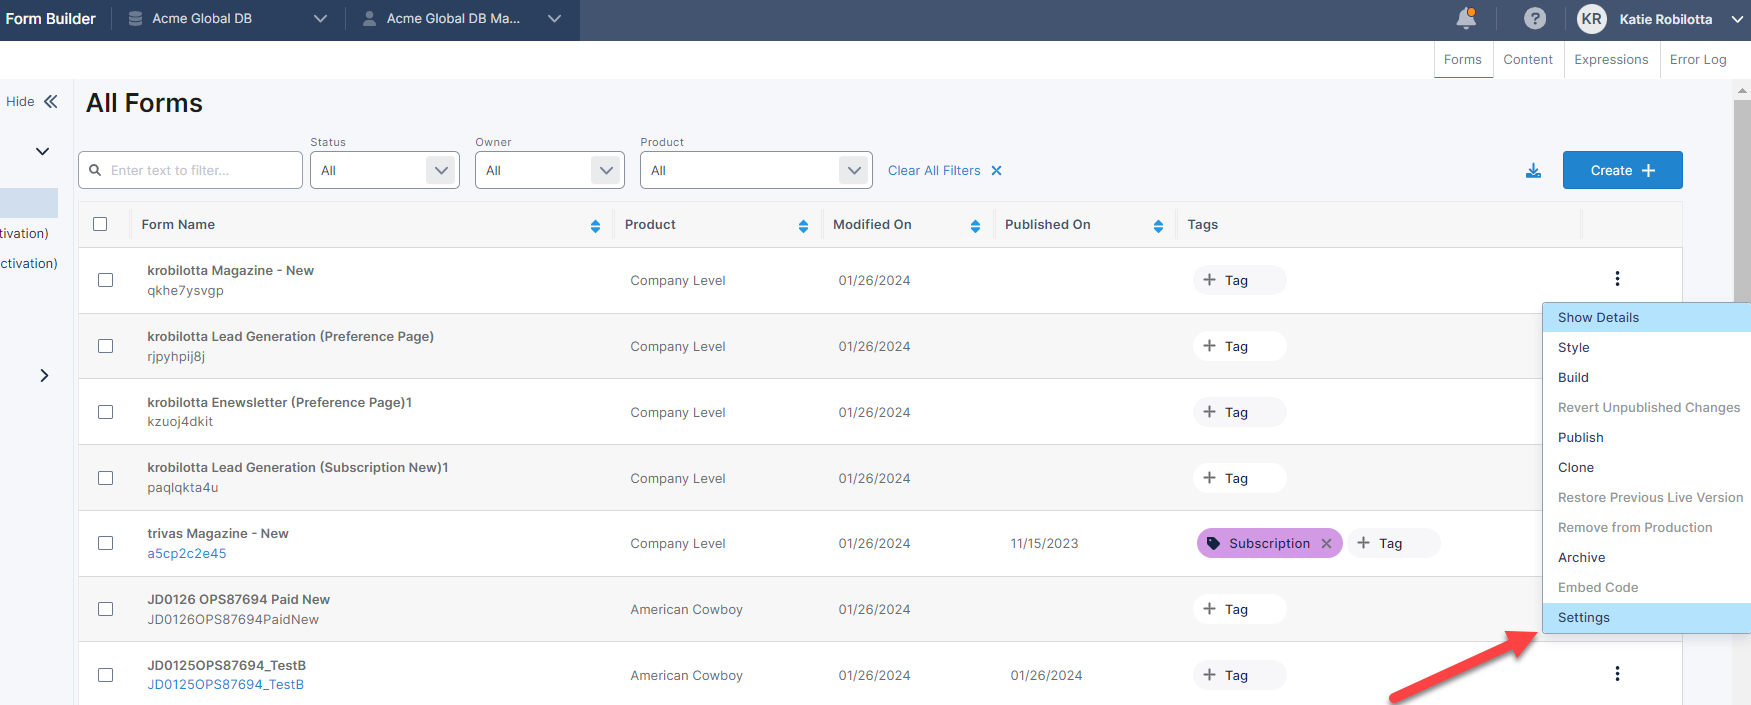
Scroll to the bottom of the Settings page. You will see the “Save as Template” option. Enable that and Save.
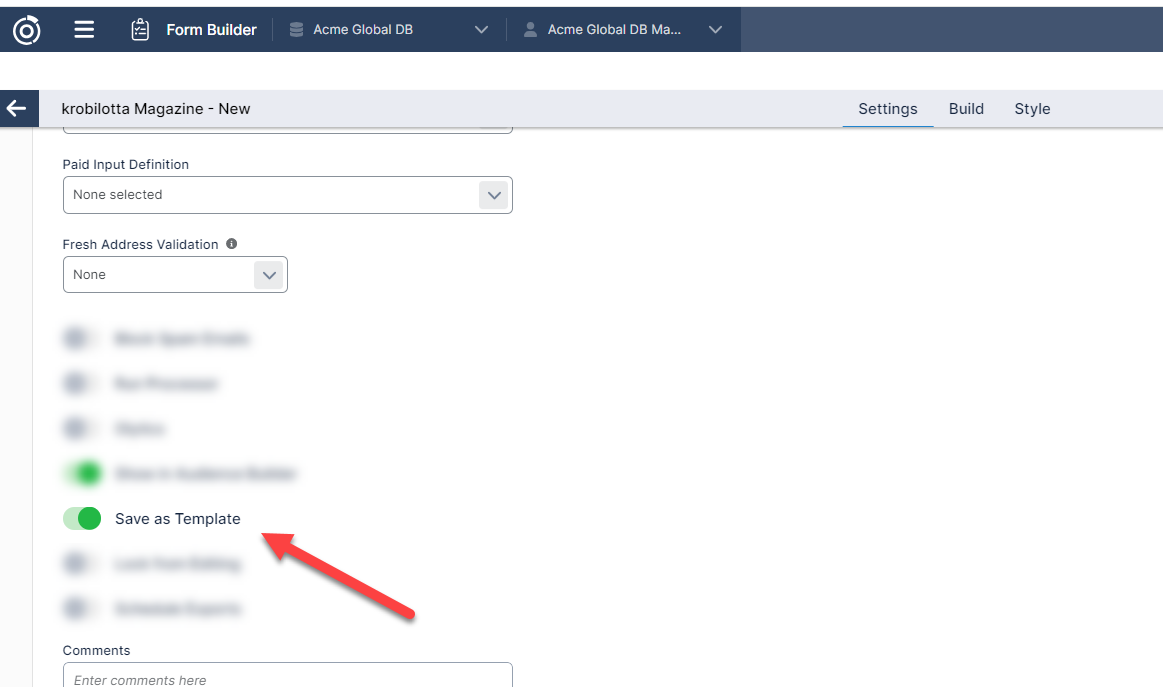
Note: Since a Template’s purpose is to give users a starting point when creating new forms, the Publish button will be disabled on any forms designated as Templates to avoid using the form in production.
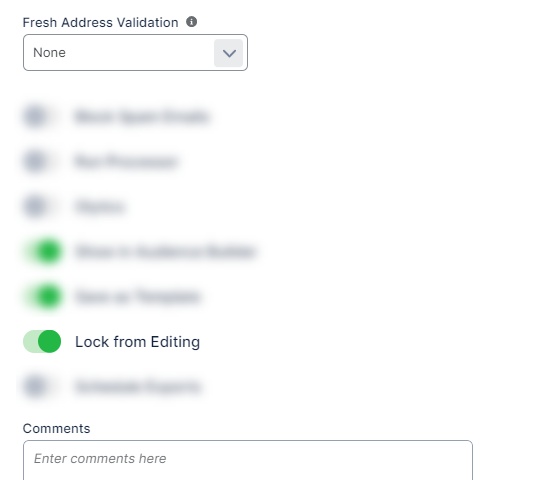
Tip: If you want to prevent users from accidently making changes on a Template, turn on the “Lock from Editing” option on the settings page. This will also disable the Save button so users are unable to make any changes.
Once you have your Templates defined, users will see these templates when creating a new form under the Custom Templates folder.
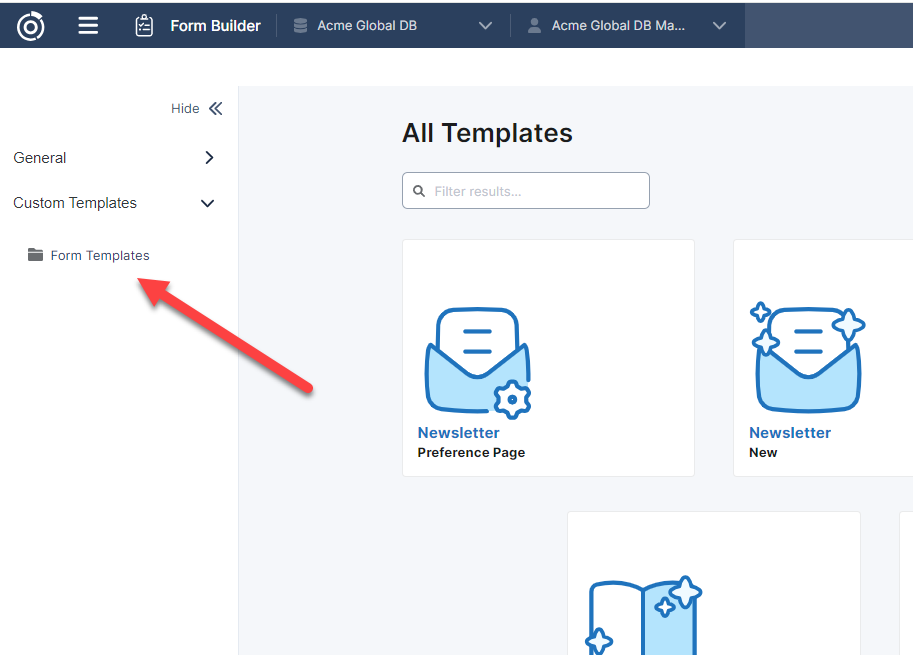
Use the Create action on the Template you want to create a new form from.

Create a Form from Scratch
Instead of creating a form from another form or template, users do have the option to create a new form where nothing has been pre-defined or built aka starting from scratch.
To build a form from scratch:
Select the +Create button on the Form dashboard
Select the “Start from scratch” option
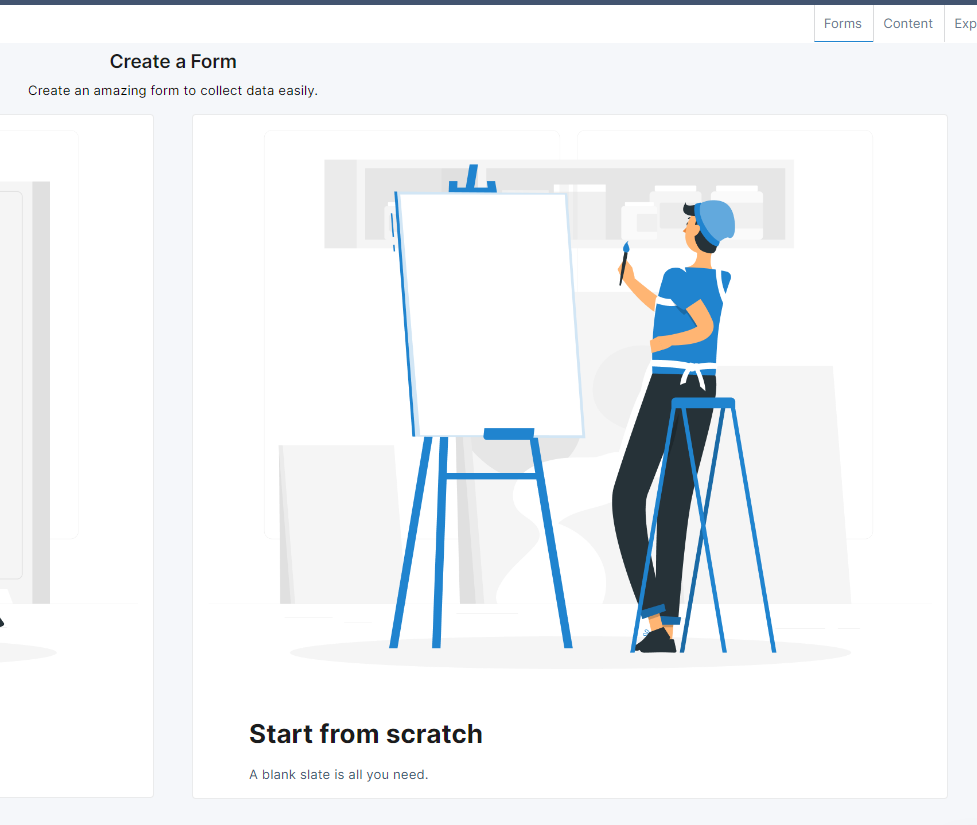
You will land in a wizard that will take you through the Settings page. This is where you will define the form name, domain/context, type of form, product, etc.
To get more information about the Settings page, click here.
Table of Contents
