Overview
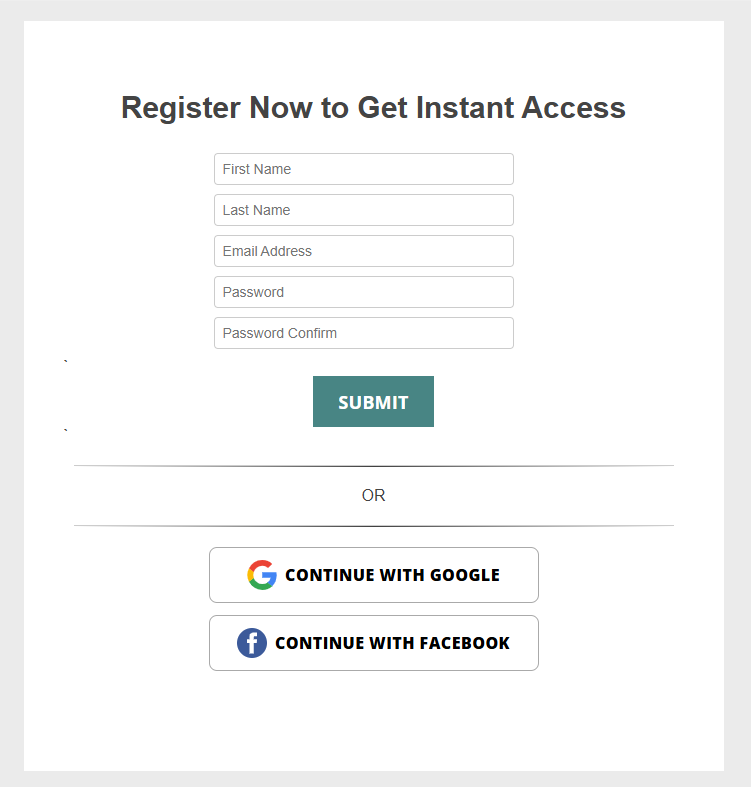
The Social Login feature in Form Builder allows users to register or log in using an existing Google or Facebook account, rather than creating (and remembering) a new username and password. Social Login improves the user experience by reducing friction during registration—users can authenticate with just a few clicks using credentials they already trust and use regularly. This can lead to higher completion rates on registration forms, faster access to gated content, and fewer authentication-related support issues caused by forgotten passwords or incomplete signups.
In Form Builder, Social Login is managed as reusable content in Content Management. Once configured, it can be added to forms using drag-and-drop placement, allowing you to control where the Social Login button appears in the form experience.
|
New Registration |
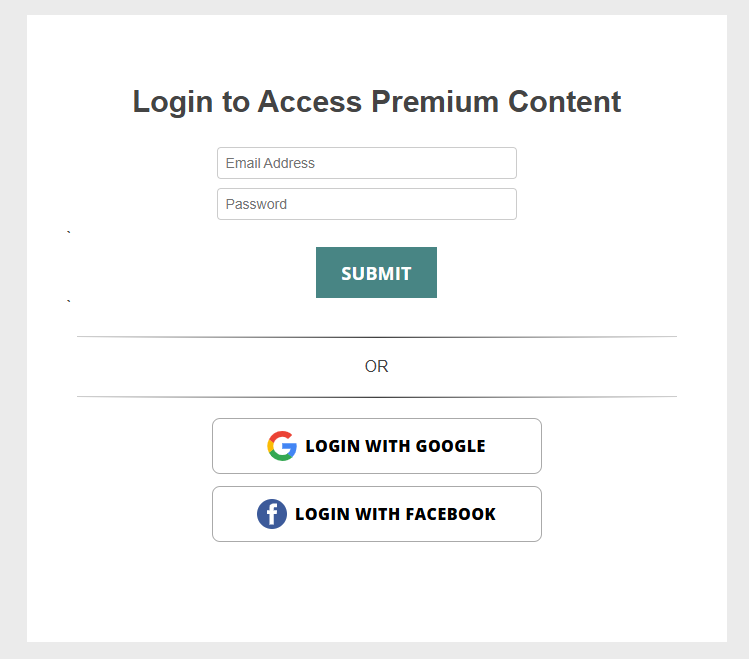
Registration Login |
|
|
Benefits
Social Login improves the registration and login experience by:
-
Reducing friction for users (fewer fields to complete)
-
Improving conversion rates on registration forms
-
Speeding up authentication with familiar login providers
-
Reducing password fatigue for users
-
Supporting one or both login providers (Google and/or Facebook)
Supported Social Login Providers
Form Builder supports two social login providers:
✅ Google Social Login
✅ Facebook Social Login
You can configure and use either one independently, or both together on the same form.
Step 1 — Set Up Social Login in Google or Facebook
Before creating Social Login content in Form Builder, you’ll first need to set up a social login app with the provider you plan to use. This app generates the Access Key and Secret Key you’ll enter into Form Builder.
Option A: Set Up Google Social Login
-
Log into or create a new account https://console.cloud.google.com/
-
Click “Create Content”
-
Choose Application Type = Web application
-
Add Authorized redirect URIs for each subdomain or domain that your forms are using
For example, if the forms have different subdomains and domains, be sure to include all in the setup: https://template.dragonforms.com/
https://sample.dragonforms.com/
https://sample.customdomain.com/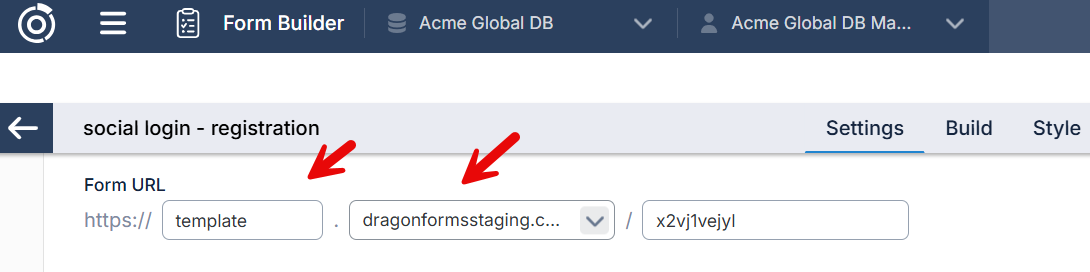
-
Save and copy your credentials
-
Client ID → Use as Access Key
-
Client Secret → Use as Secret Key
-
Option B: Set Up Facebook Social Login
-
Create an account at https://developers.facebook.com/ .
-
Create an app at https://developers.facebook.com/apps/.

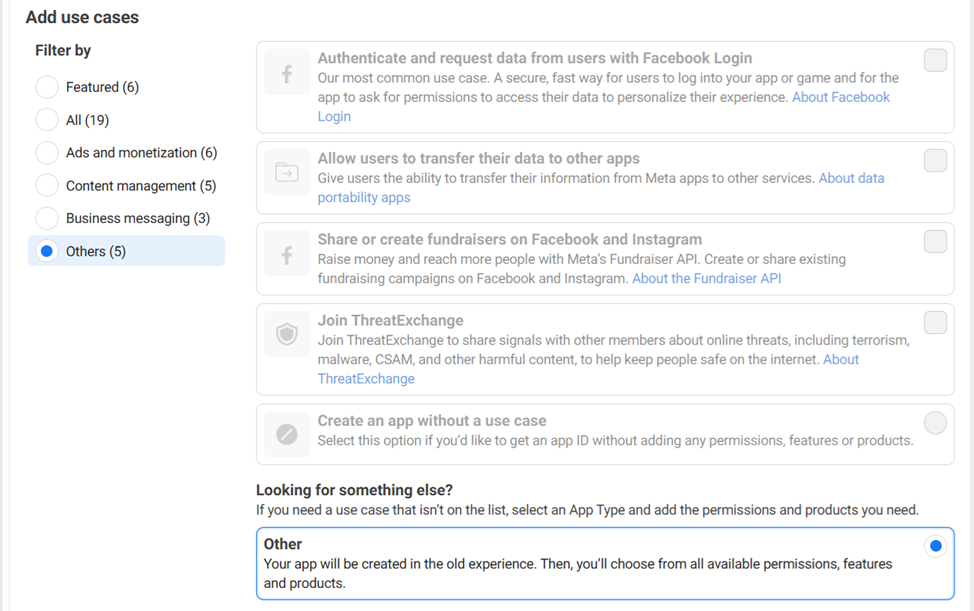
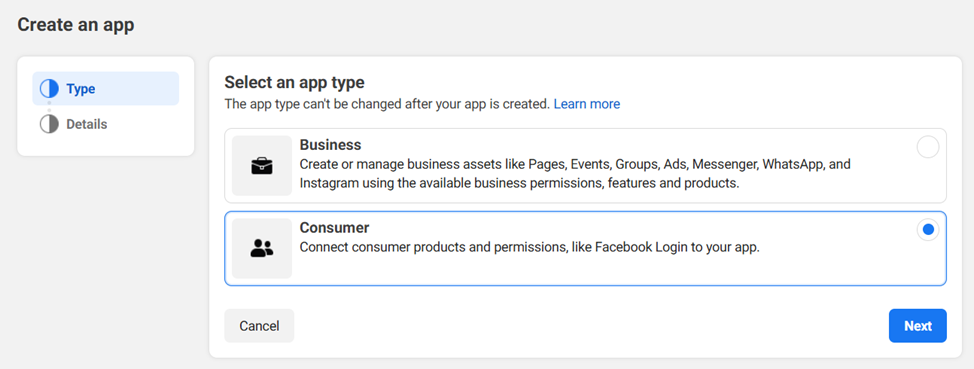
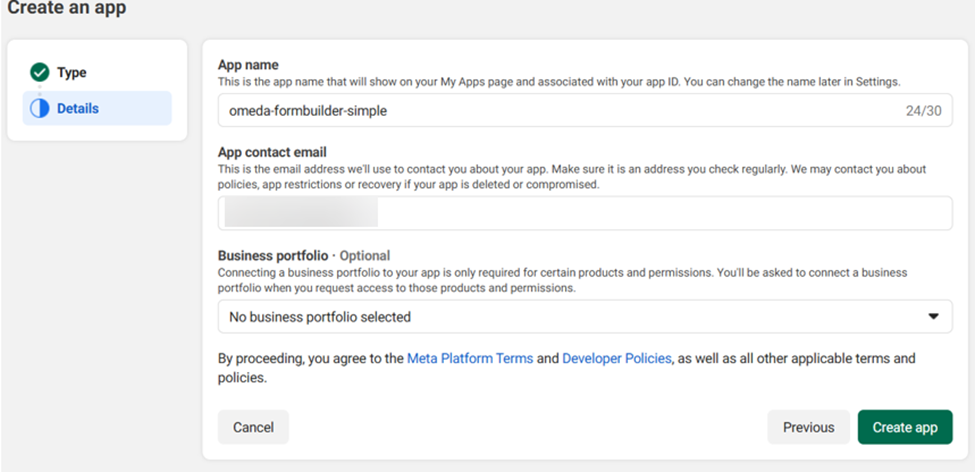
-
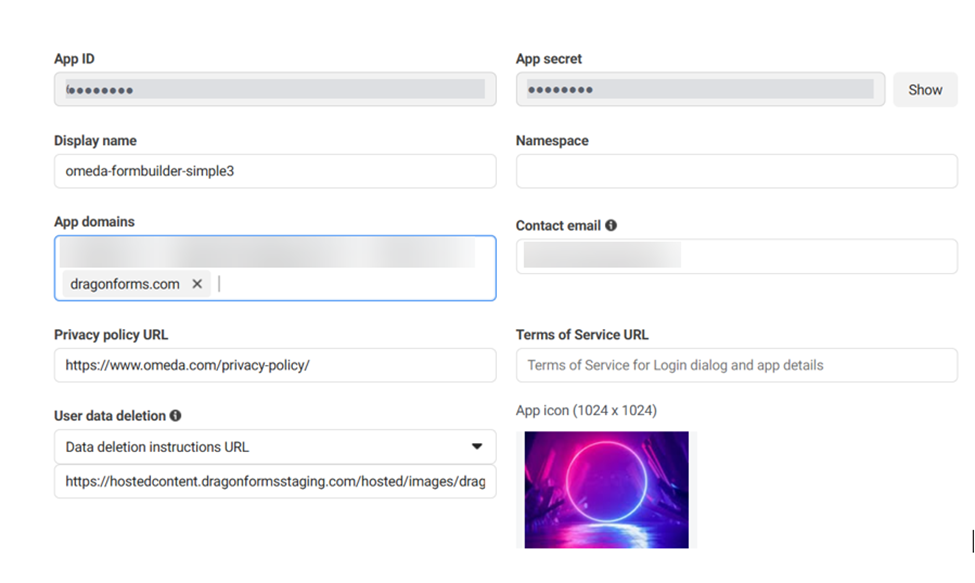
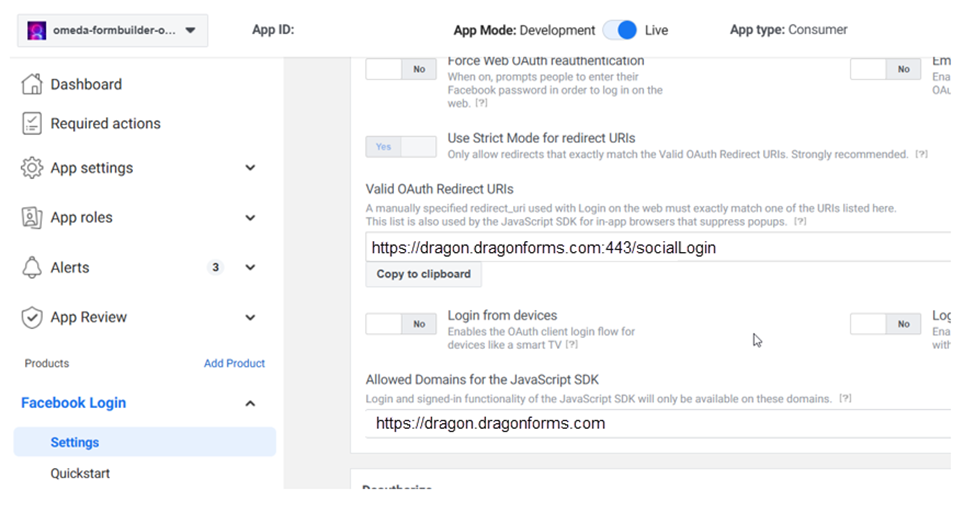
Go to App settings > Basic.
Important! Copy the App ID and App secret from the fields provided and paste them in to the Social Login content in Form Builder (see Step 2 - Create Social Login Content in Form Builder below).
Populate the App domains with dragonforms.com and any other custom domain that you are using for your forms.
The privacy policy URL, User data deletion, and App logo will need to be populated to make the App live.
-
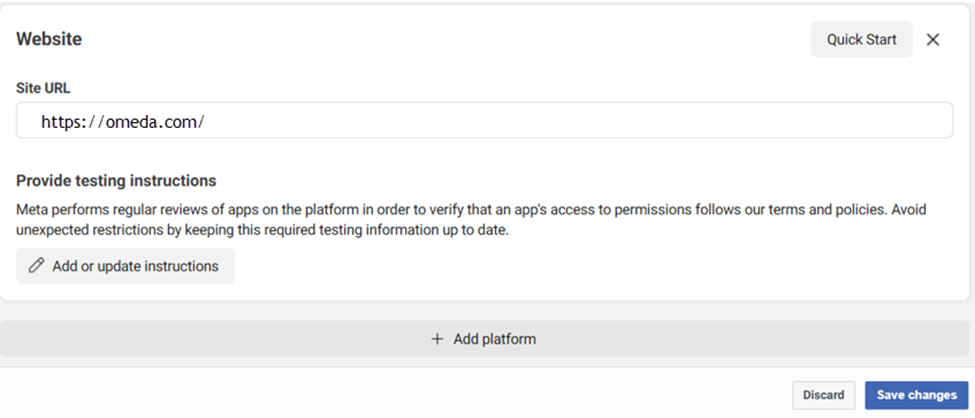
Scroll to the bottom of App Settings > Basic and click Add platform.
Select Website > Next.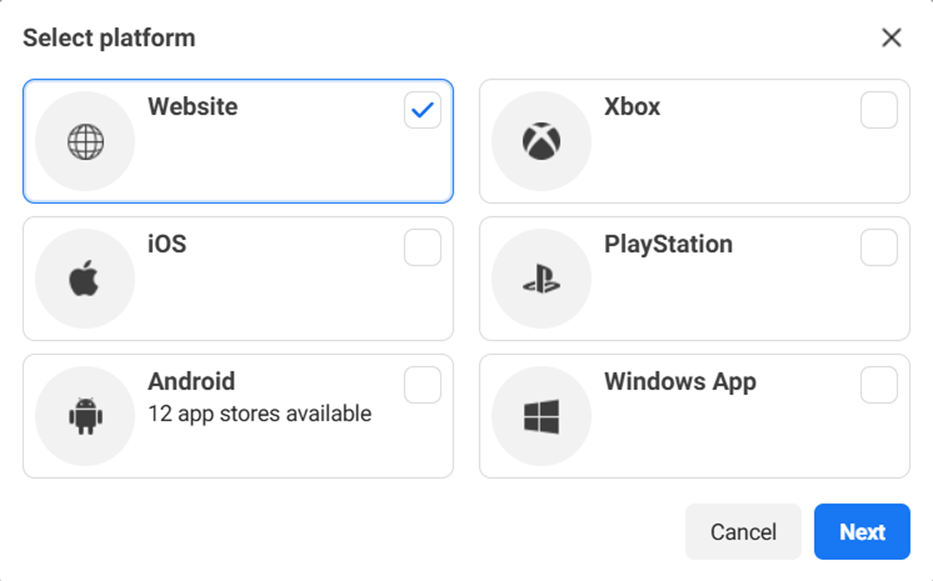
Enter your brand’s homepage site URL and click Save changes. Example: https://omeda.com/
-
Click “Add Product” on the LHS. Select “Facebook Login”.
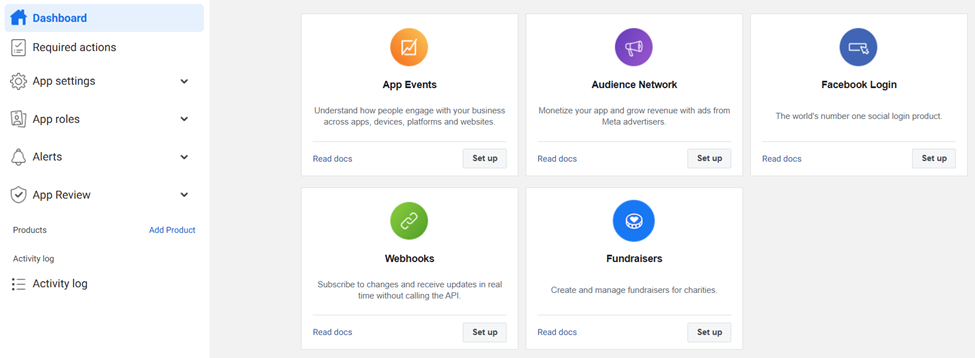
Choose “Web” and set the Site Url.
-
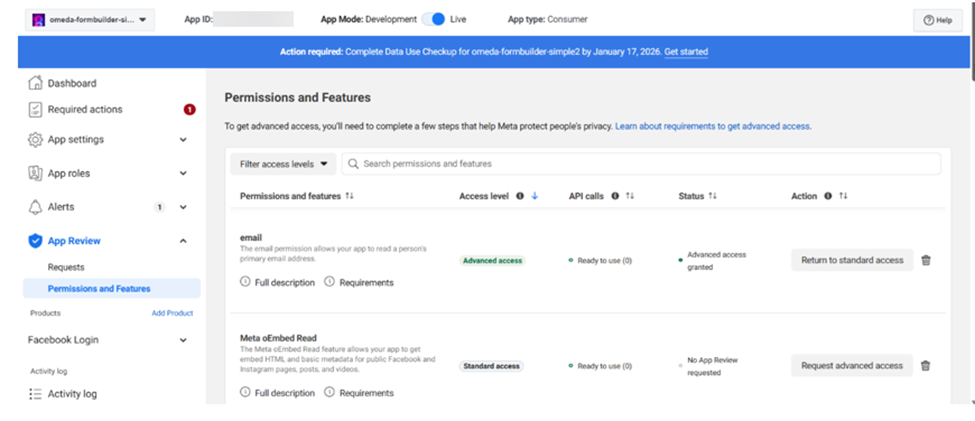
Go to App Review > Permissions and Features > click Request Advanced Access on the “email” permission.
-
Click the toggle at the top of the page to make the app “Live”.
To make the app live, there is a series of questions that need to be answered and reviewed by Facebook.
-
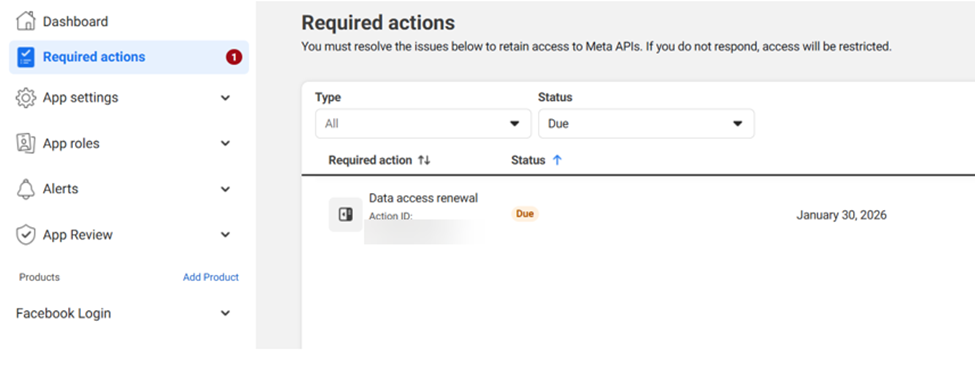
Click on “Required actions” and complete the “Data access renewal”.
Most submissions are reviewed within 10 days.
-
After the review is approved, click the toggle at the top of the page to make the app “Live”.
10. Add https://dragon.dragonforms.com:443/socialLogin to “Valid OAuth Redirect URIs”.
Add https://dragon.dragonforms.com to “Allowed Domains for the Javascript SDK”.
Step 2 — Create Social Login Content in Form Builder
Social Login is added to forms via a content element created in Content.
Where to Find It
In Form Builder, navigate to:
Content → Additional Form Options → Social Login
How to Create Social Login Content
-
Go to Content
-
Navigate to:
Additional Form Options → Social Login -
Select Create New Content
-
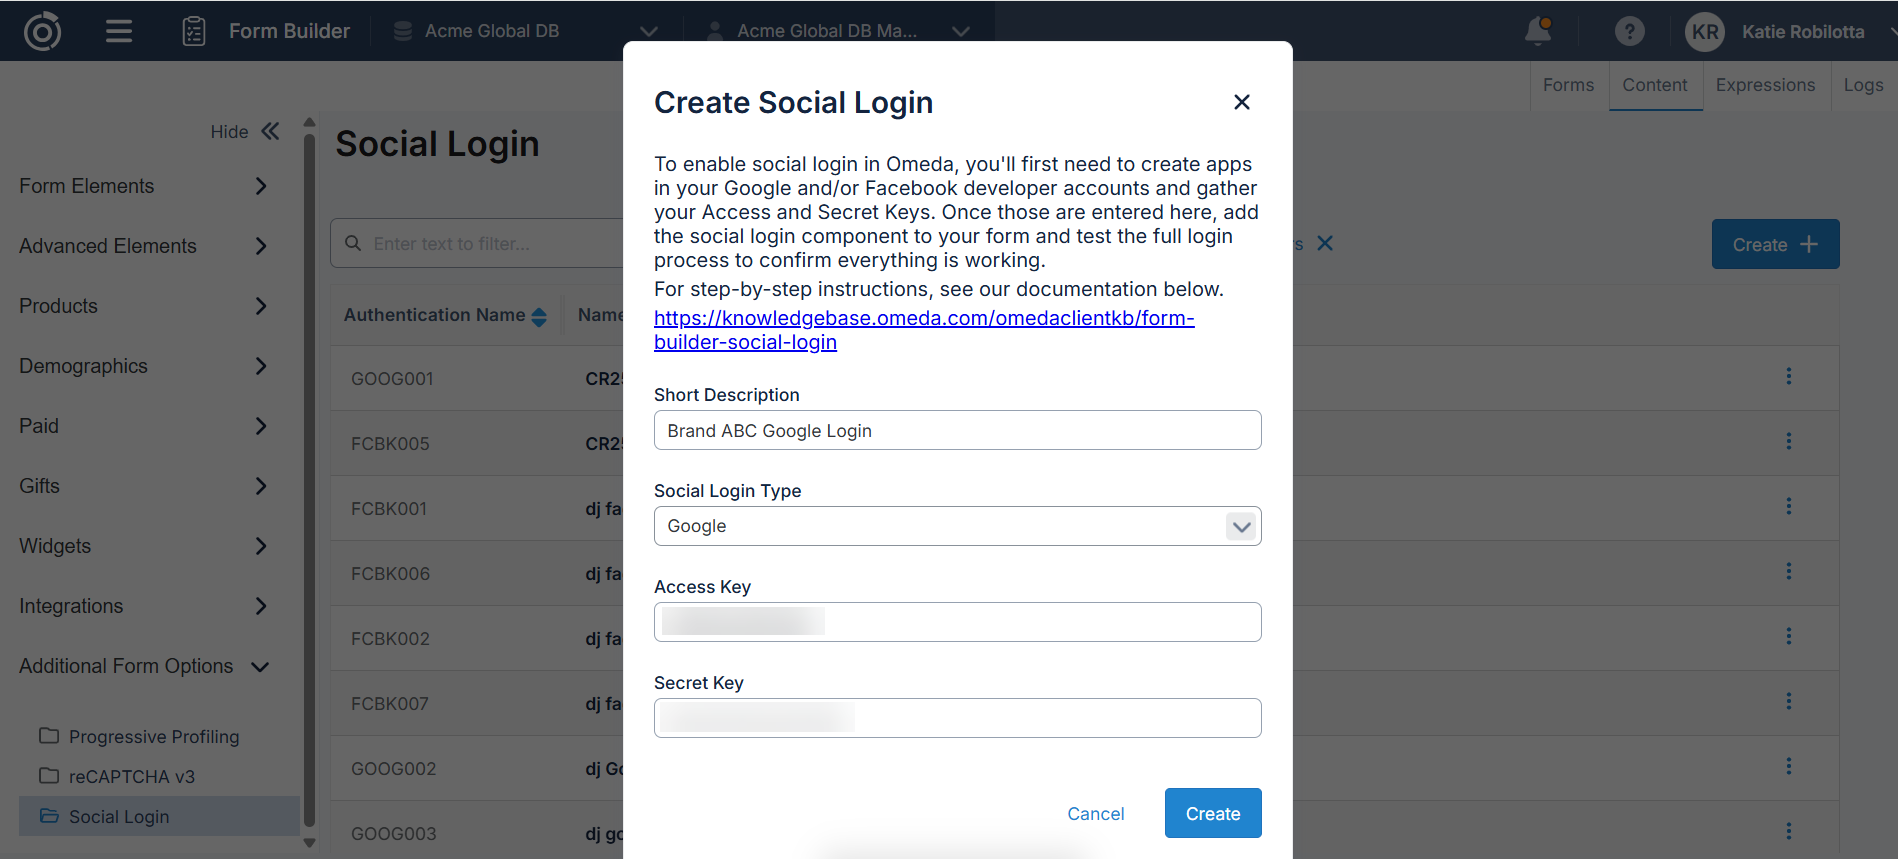
Complete the required fields:
-
Description
Enter a name that clearly identifies the brand/use-case (example: Brand A Google Social Login). -
Type
Choose either:-
Google
-
Facebook
-
-
Access Key
Enter the Access Key from Google/Facebook. -
Secret Key
Enter the Secret Key from Google/Facebook.
-
-
Save your content.
✅ Repeat this process if you want to create both Google and Facebook login options.
Step 3 — Add Social Login Content to Your Form
Once your Social Login content exists, it can be added to forms:
How to Add Social Login to a Form
-
Open your form in Builder
-
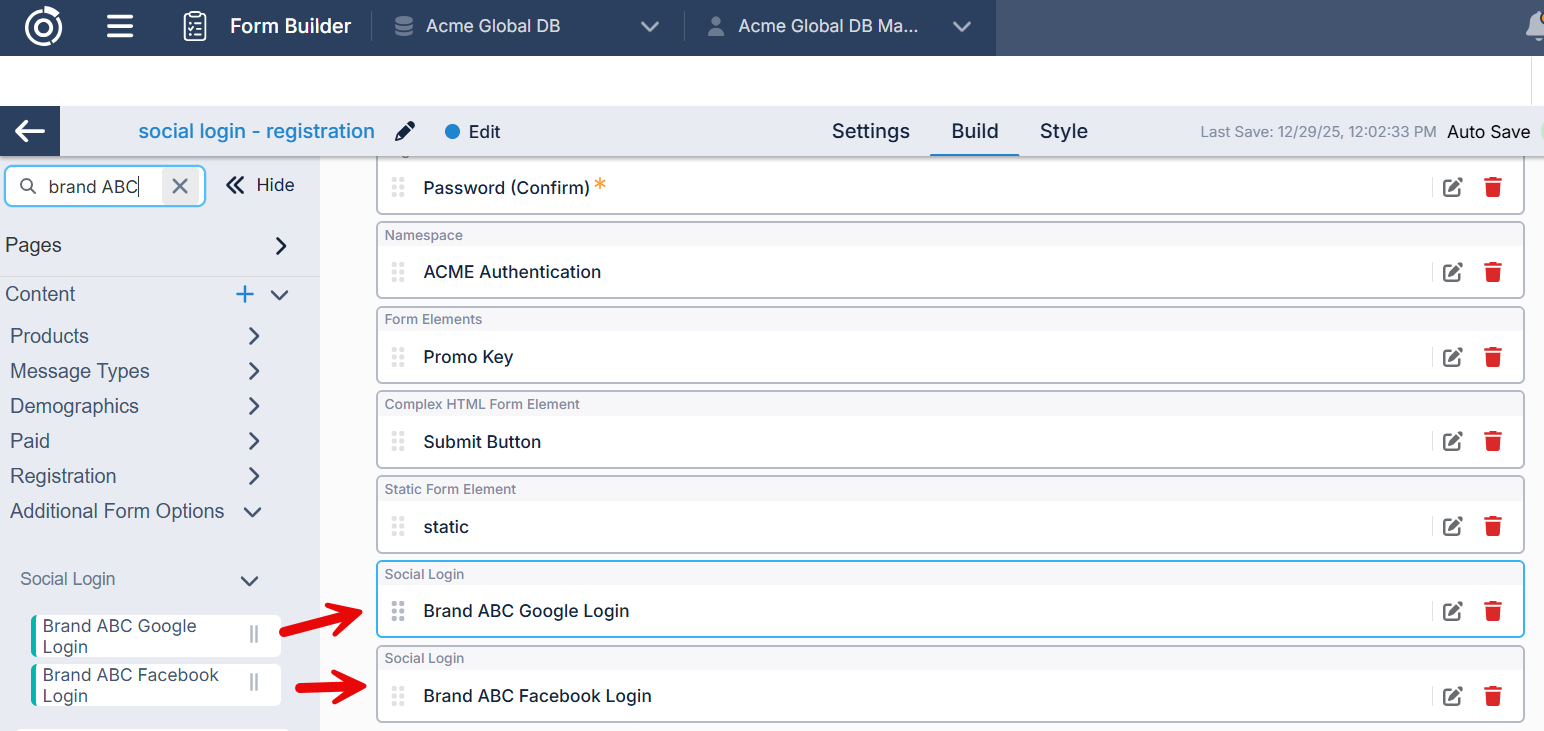
On the left side panel, locate:
Additional Form Options → Social Login -
Find your Social Login content (Google and/or Facebook)
-
Drag and drop the content onto your form where you want the button(s) to appear
-
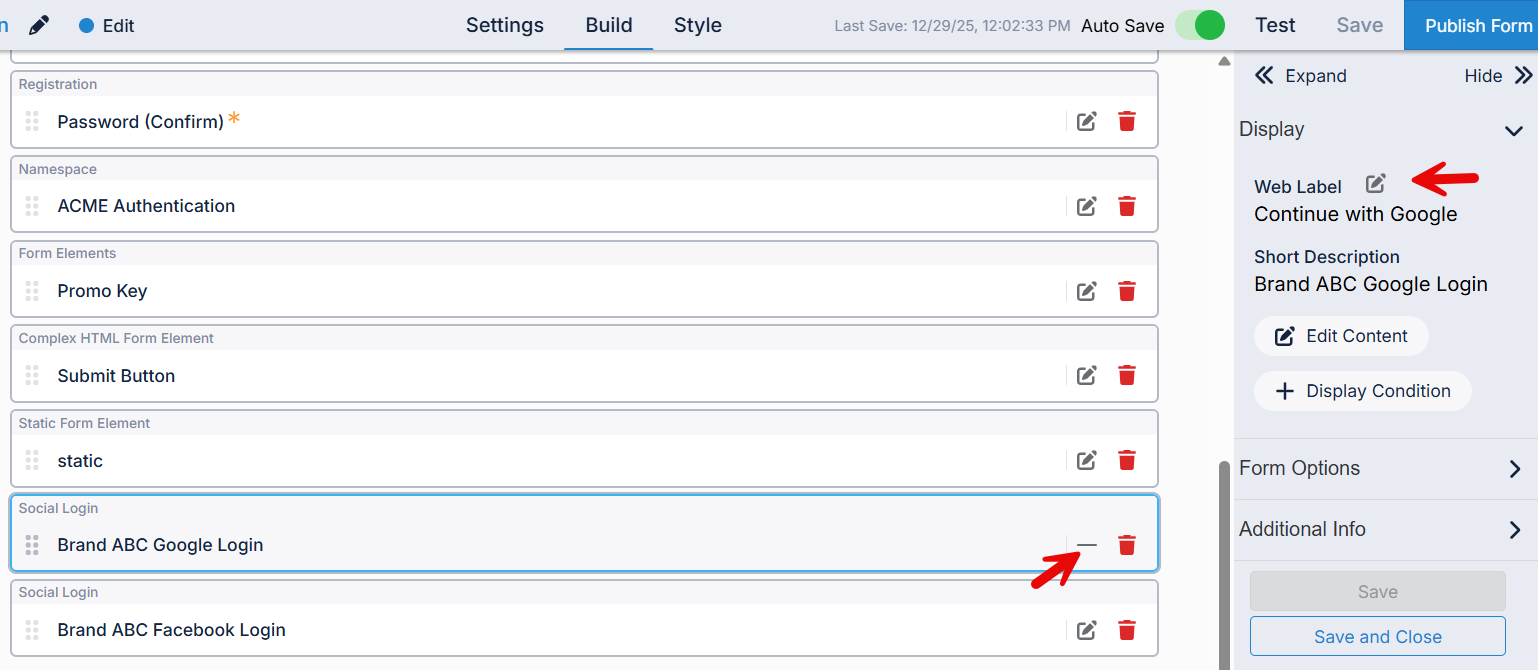
The button text defaults with the Google/Facebook logo and “Continue with Google/Facebook”. To update the defaulted text, select the edit icon on the Social Login element and the edit button on the Web Label in the right hand panel.
Using Both Providers
If you want users to have both options, you must add both content blocks:
-
one Google Social Login content
-
one Facebook Social Login content
Each content block will display its own button.
Limitations & Important Notes
1. Each Social Login content creates its own Authentication Namespace
Every individual Social Login content record creates its own Omeda Authentication Namespace.
Because of this:
A user can only register once using that specific Social Login content record. Using Social Login across multiple unrelated brands requires separate content
If you plan to support social login on multiple brands that require separate registrations, you must create separate Social Login content records for each brand using different Access/Secret Keys.
Why this matters
If you reuse the same Social Login content for multiple brands, a user who registers using that content for one brand may receive an error when trying to register again elsewhere — because their account already exists in that same authentication namespace.
Example scenario
You have two unrelated brands:
-
Brand A Registration Form
-
Brand B Registration Form
If both brands use the same Google Social Login content record, a user who registers via Google for Brand A may see an error when trying to register for Brand B.
✅ Solution: Create separate Social Login content records with unique provider credentials for each brand.
Table of Contents