
Journey Details FAQ
How should I set up my Omeda Journey?
The Journey elements are split up into 5 categories: Timing, Channels, Pathing, Modifiers, & Marketplace
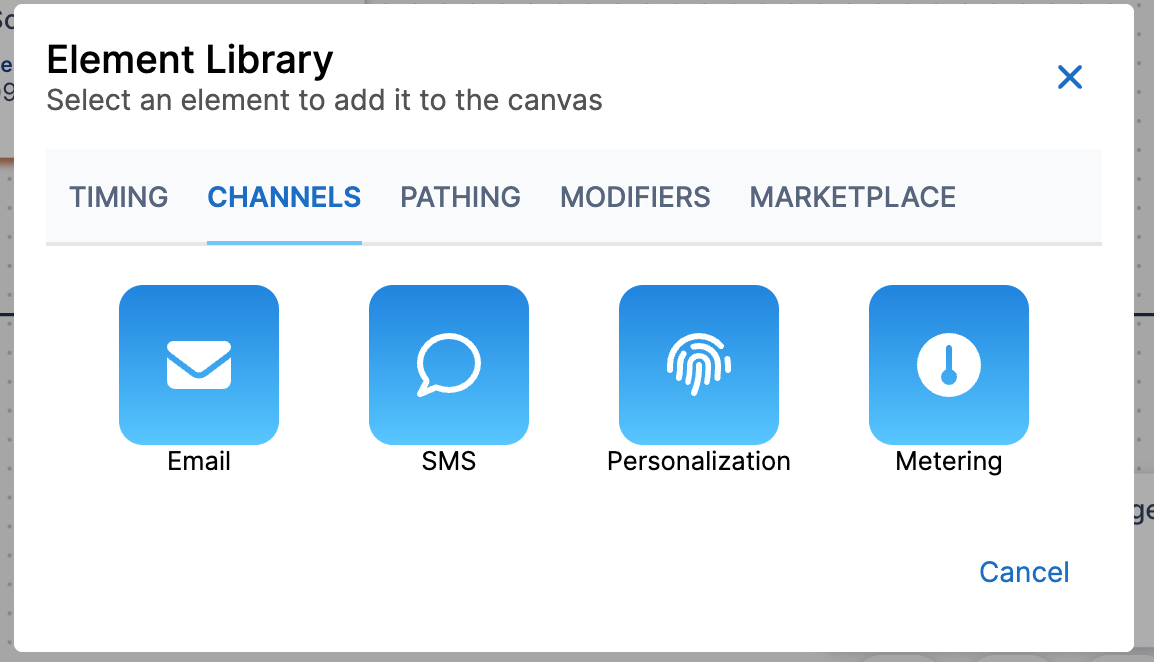
An Omeda Scheduled Journey must start with an Audience & Schedule element. These elements can both only be used once, at the very beginning of your Journey, and they are permanent fixtures on the canvas:
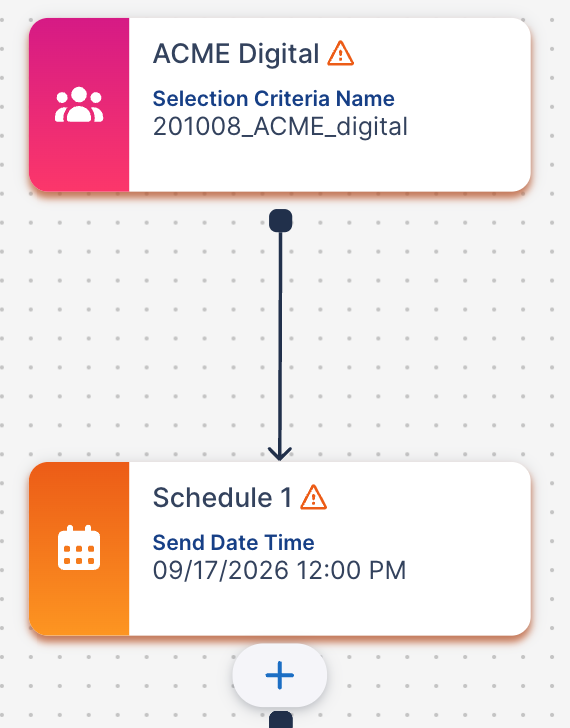
Once you have set up these first two elements, the next step is entirely customizable and dependent on your needs for the Journey. From Schedule, you can set up any of the elements except the Wait element. Overall, the remaining elements after the initial setup can be broken up into the Journey Support elements (Timing, Modifiers and Pathing) and the Audience Engagement elements (Channels and Marketplace). For more information on each element, see the Elements section in the Journey Overview article.
Can you map out your elements in any order?
Not exactly. Many of the elements in your Journey either have to be preceded or followed by a specific element. You can find the allowed connections by selecting the element from the Elements section in the Journey Overview article.
How often should I save my Journey as I’m building it?
The new Journey canvas automatically saves with each change you make to the canvas or elements.
Why can’t my Classic Journey save?
Some larger Classic Journeys may appear unresponsive or fail to save, depending on the total amount and size of content included (not strictly the number of steps). This is a known limitation in the Classic Journey experience, where the full Journey JSON is loaded and saved in the browser at once. When the content is too large, the save request may not complete successfully.
As a temporary workaround, splitting Classic Journeys into smaller ones is recommended.
This limitation has been addressed as part of the new Journeys overhaul - so for more complex Journeys, the newly released experience will be able to serve those needs.
(CLASSIC ONLY): Why aren’t my arrows connecting between two elements?
Each element can only connect to a subset of other elements. You can find the allowed connections by selecting the element from the Elements section in the Journey Overview article.
If you’re elements should connect, the issue may be that you must connect the arrow from and to a specific point. See the elements below with these requirements:
-
Filter Element: The arrow must go out of the bottom or the right side of the element.
-
Email Element: The arrow must flow into the top or the left side of the element.
What do the different statuses for my Journey mean?
In the upper-right-hand corner of the Omeda Journey, you’ll see a box next to the Save box that shows the Journey status. You can also see the status in the right-hand column on the Journey homepage for your brand. Each of the statuses are:
-
New: This is when you have initially opened a new Journey, but have yet to save it.
-
Created: Once you’ve created a Journey and saved it, the status will change to created.
-
Published: If all of the elements in the Journey have a valid connection and each element’s required fields are complete (denoted by a green check mark beside the element), the Journey will automatically move from Created to Published by saving the Journey. This means it’s ready to be scheduled.
-
Scheduled: When the Journey has been scheduled and is ready to deploy, it will be in Scheduled status.
-
In Progress: While the Journey is running, the status will be In Progress. It will show this status for up to 72 hours after the last email send to allow for retries of any messages that were initially deferred.
-
Done: After the Journey has finished the status will be Done.
-
On Hold: When a Journey is paused, the status will say On Hold.
-
Cancelled: This is when the Journey was stopped after it had been scheduled or in progress.
-
Error: This means the the Journey has an error which must be resolved in order to resume.
What can I do when I pause a Journey?
When you pause a Journey, you have the following options:
-
Cancel the Journey
-
Archive the Journey. Archiving the Journey removes the Journey from your Database’s Journey lists.
Why is my Journey not in Published status after saving?
A Journey will automatically move to Published status if all elements have a valid connection and all required fields are complete. Completed elements will have a green check mark on the top right corner. If all elements are connected and required fields are complete but the Journey is still not Published after saving, your Journey may have an element that requires an additional connection. (Classic only): For example, if your Journey has a Wait or a Split element that is not connected to another element, your Journey cannot be published.
Can I make changes to a Journey while it is In Progress?
Yes, you can pause an Email, Wait, Schedule or Export element and modify the parameters. For more information, please see the article, “Editing an In Progress Journey“.
When I initially saved my Journey, I added a description. Where can I view this description?
The description information will be displayed when the Journey name is selected from the canvas.
I forgot to select graceful shutdown on my Journey, but I would like to gracefully shut it down. Is there a way to do so?
You can “pause” the schedule element and select an End Date and select to Gracefully or Immediately end your Journey. Be sure to Resume after Pausing.
My Journey finished yesterday, why does it still say its “In Progress”?
Email elements will remain in “Sending” status for 72 hours to allow for any communications that must be retried. In order for a Journey to move to Done status, all elements must also be Done. That means all emails must be sent and all Personalizations must have reached their end date.
Email Element FAQs
Why can’t I send a test email out of the Email element?
In order to test your Email, the Journey must be in Published status. To move a Journey to Published status, all elements in the Journey must be connected and all required settings must be completed.
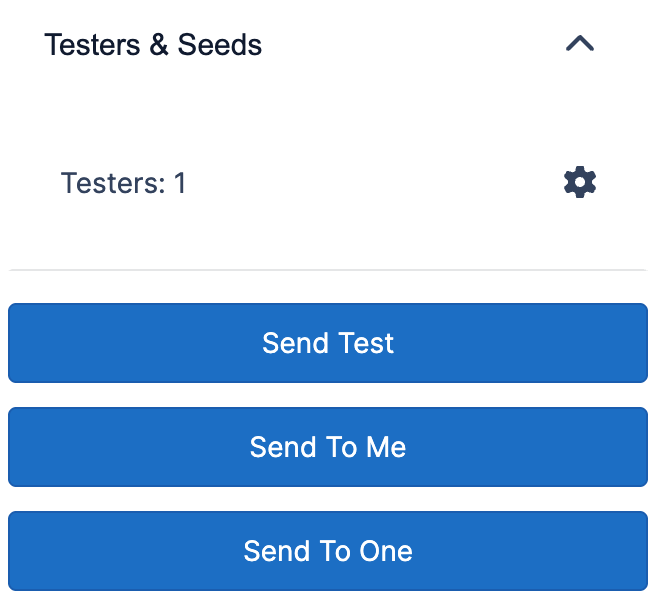
When the Journey is Published, the below buttons will appear within the Email elements and a Test can be sent.
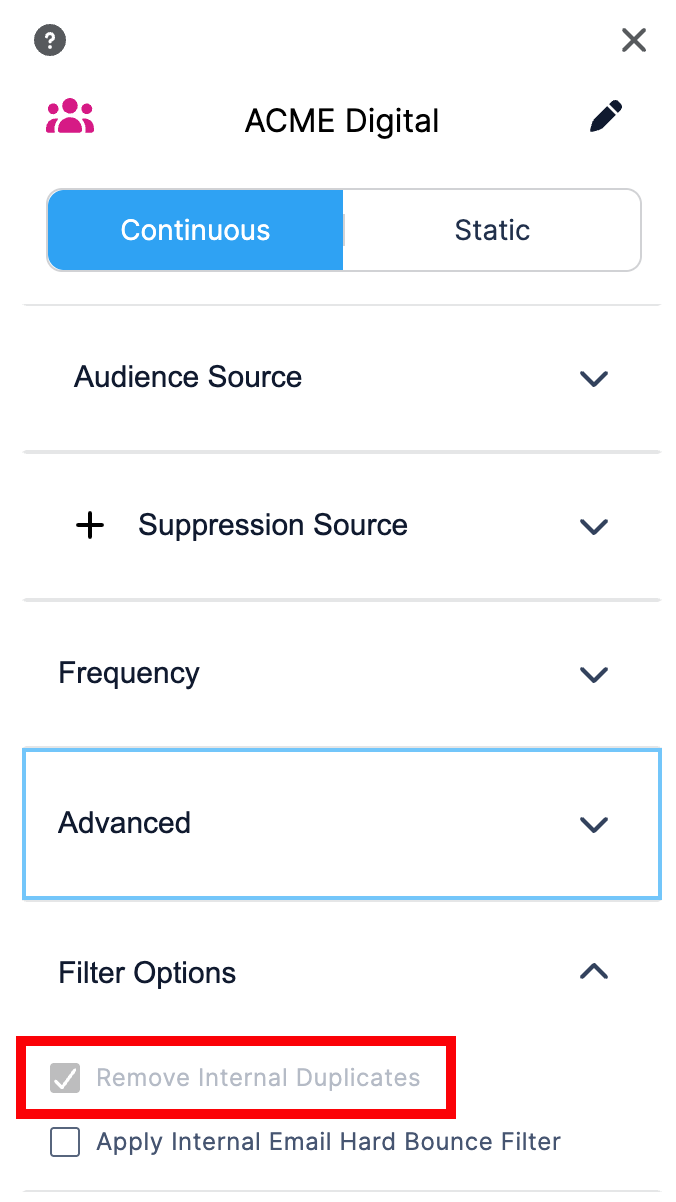
How can I ensure that the email lists are deduped?
Within the Audience Element of your Journey, you can make sure that your emails are “deduped” by selecting the check box next to “Remove Internal Duplicates” that is under the filter options. This option is set be default and will only remove duplicated emails that you have within your audience list.
I want to only send an HTML email through Journey or I want to only send a text email through Journey. How do I do so?
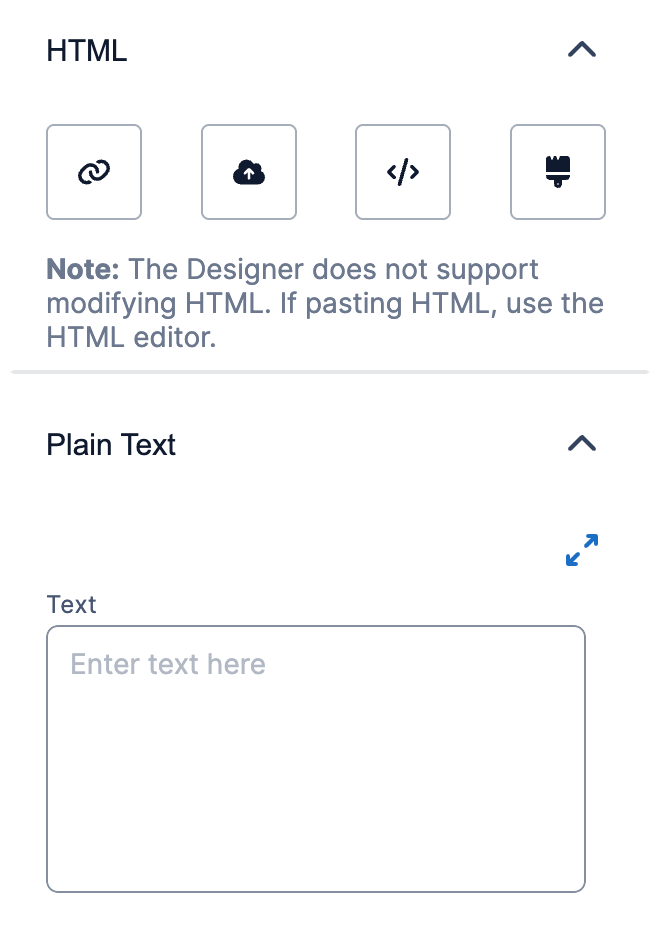
There is no place within Journey to select whether you want to send an HTML, just text, or multi-part MIME. The presence or absence of content in those sections in the email element will indicate what is sent. For example, if you only want to send an HTML email, fill out the HTML section and leave the text box blank.
Can you explain more about the Testers and Seeds section?
The Journey creator will automatically be a tester and a seed for the Journey. The Journey creator’s name and email address will be populated in the Tester and Seed modal after the Journey is saved. If a Test is sent from teh Email element, only Testers will receive the email. Anyone that is a seed will receive the first send of each email element within the Journey. They will not receive subsequent sends if the Journey is using a continuous list.
If I have a newsletter footer set up in Email Builder, does it get pulled into Journey when that deployment type is selected?
No – footers that are created in Email Builder will not transfer to the emails you build in your Journey. You will have to create a footer within the email builder tool or within your HTML for your email messages. You can make copies of that element within a Journey or save the template and upload to other email Journeys to use the footer across multiple Journeys and email messages.
Can I make Changes to an Email Element Once an Omeda Journey has already Started?
Yes, so long as the email has not yet sent, and/or it is part of a continuous Journey where it can be sent repeatedly. To make changes, just click the ‘pause’ button underneath the email name.
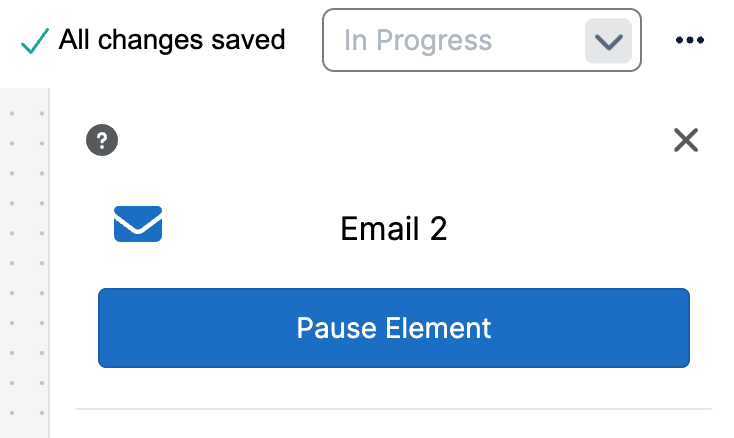
Once you have saved your desired edits, click ‘resume’ to turn this element back on again.
Note: You cannot save/apply changes to an email if you pause the entire Journey. You need to make sure you are pausing the individual element(s) in order to have the changes saved & applied.
Can I modify my Journey emails within Email Builder?
Please do NOT make any changes to your Journey emails within the Email Builder page. This WILL most likely stop the Journey and result in a number of errors within the Journey as well.
What type of reports exist for my Email elements in Journey?
Emails deployed through through Journey have the same reporting options as those deployed through Email Builder. The three options are to provide users with the type of content they want in the place they need it:
-
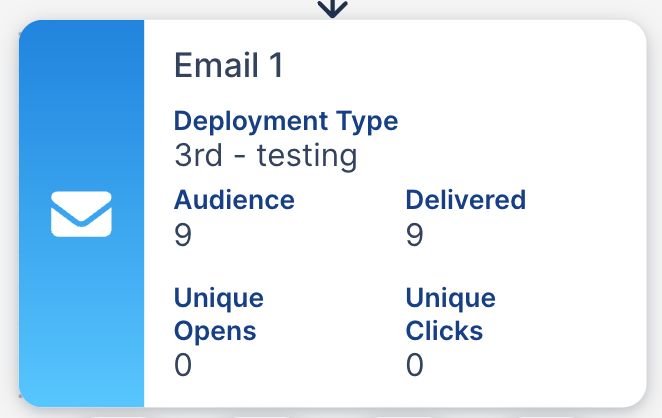
Within the Journey: There is a Report View toggle within the Journey that provides fast numbers on the email performance (i.e. audience size, number delivered, unique opens and clicks).
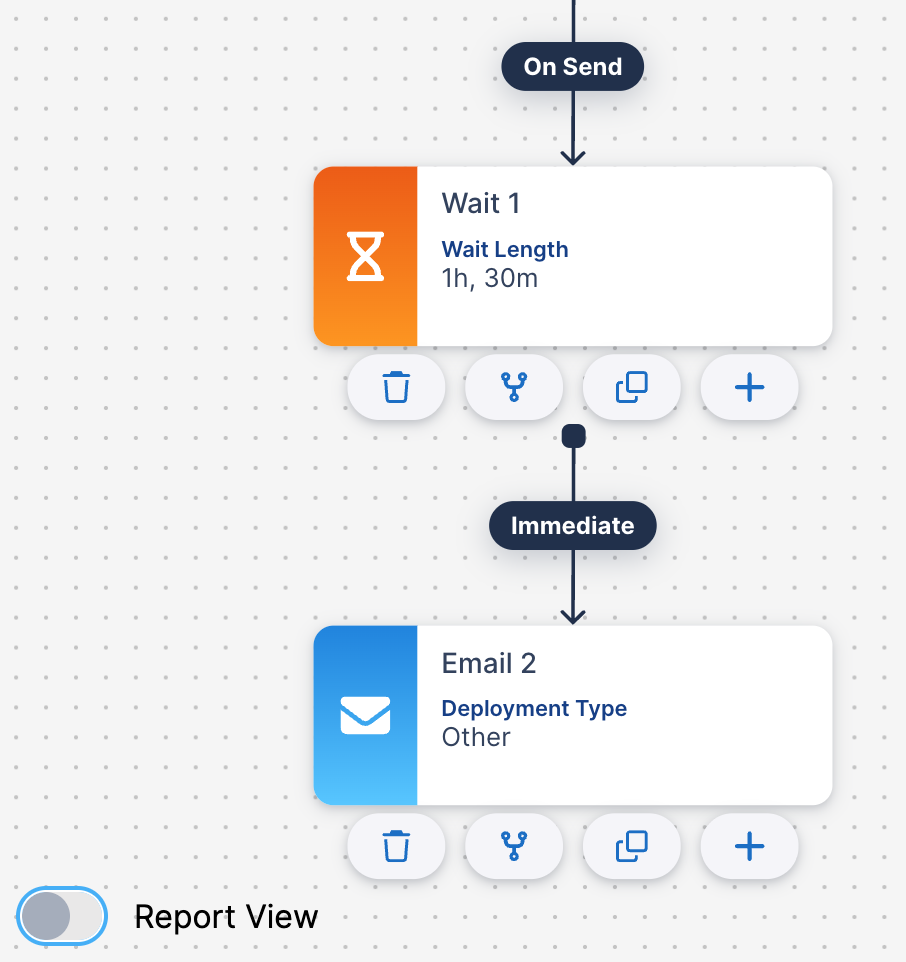
If you click on the toggle button, the image will change to say “On” and will display analytics for your email elements as well as the other elements in your Journey.
-
View Analytics Page: This page can be accessed within the Journey window as well. You can select “View Analytics” from the ellipsis drop down in the top right corner of your Journey page.
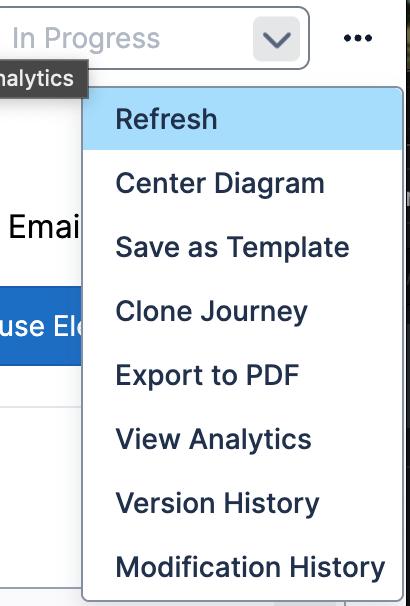
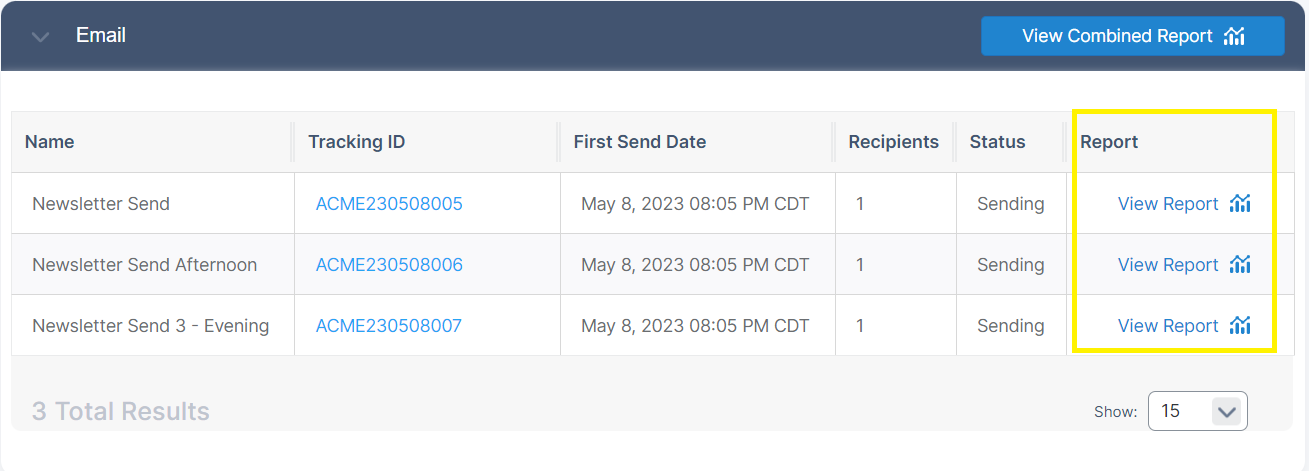
It will take you to a new page that provides links to the deployment delivery summary reports for each Email element. The page also gives customer count numbers for all the elements within the Journey.
-
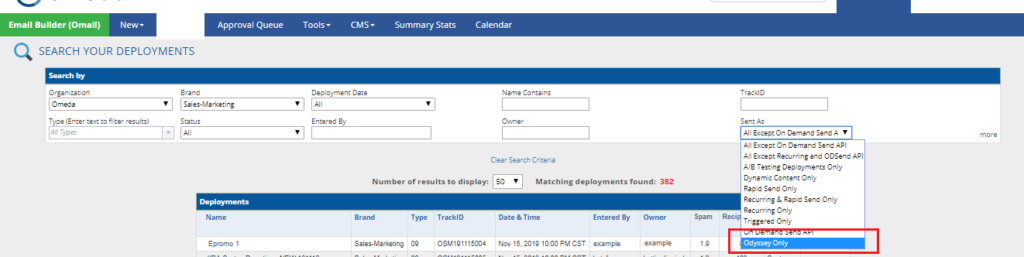
Through Email Builder: On the Search page of Email Builder, you can select “Journey Only” from the “Sent As” drop down in the search bar.
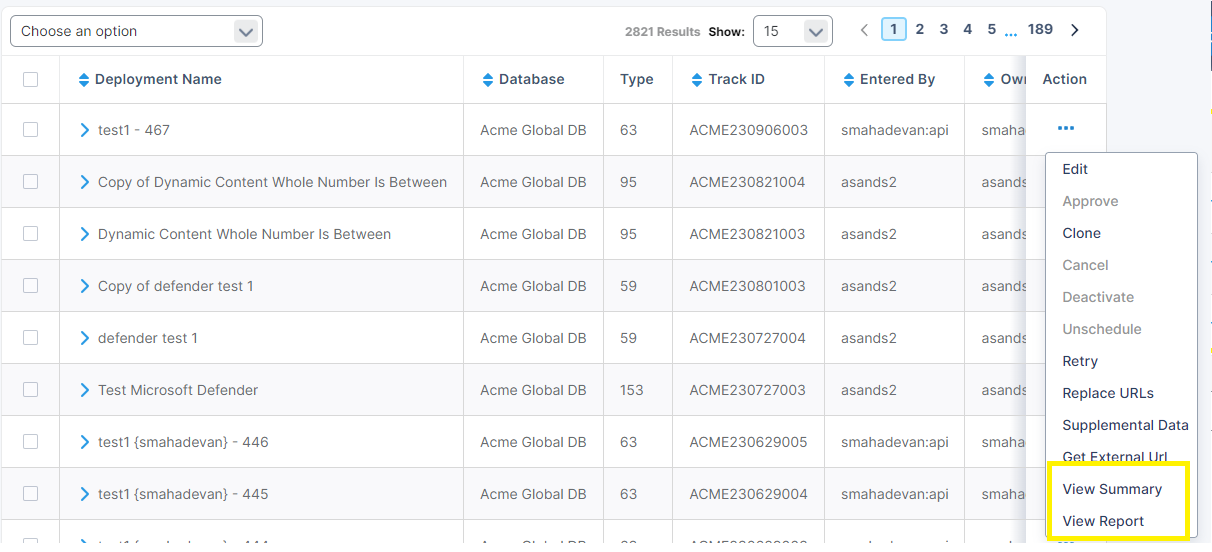
You have the option to view the Summary Report or review the full Email Deployment Report like you would for any other email. This report is the most in-depth reporting option, offering the basic overview insights as well as details like which companies are engaging with the deployment, which areas of the email were most clicked on, which links were most popular, etc., The report does requires navigating outside of Journey in order to access it.
How do I view email reports for specific date ranges from my Omeda Journey?
Currently, there is no way to create reports for specific date ranges from emails deployed through Journey. The enhancement is coming shortly.
How can I view my full email deployment report?
To find the complete email deployment report for your email elements within a Journey, navigate to Email Builder. On the “Search by” screen, enter in identifying criteria for the email, and make sure you change the “Sent As” section in the bottom right area to “Journey Only.” That will allow your emails to appear and for you to view the full report.

Why are my deployment names “Email – #” for my Journey emails in the Email Builder tool list?
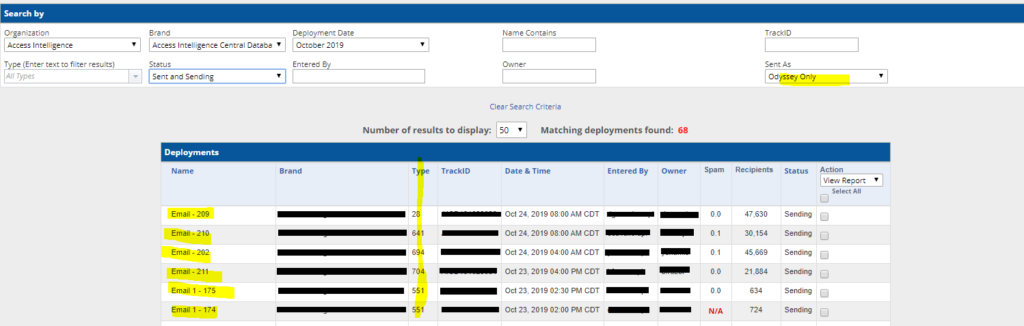
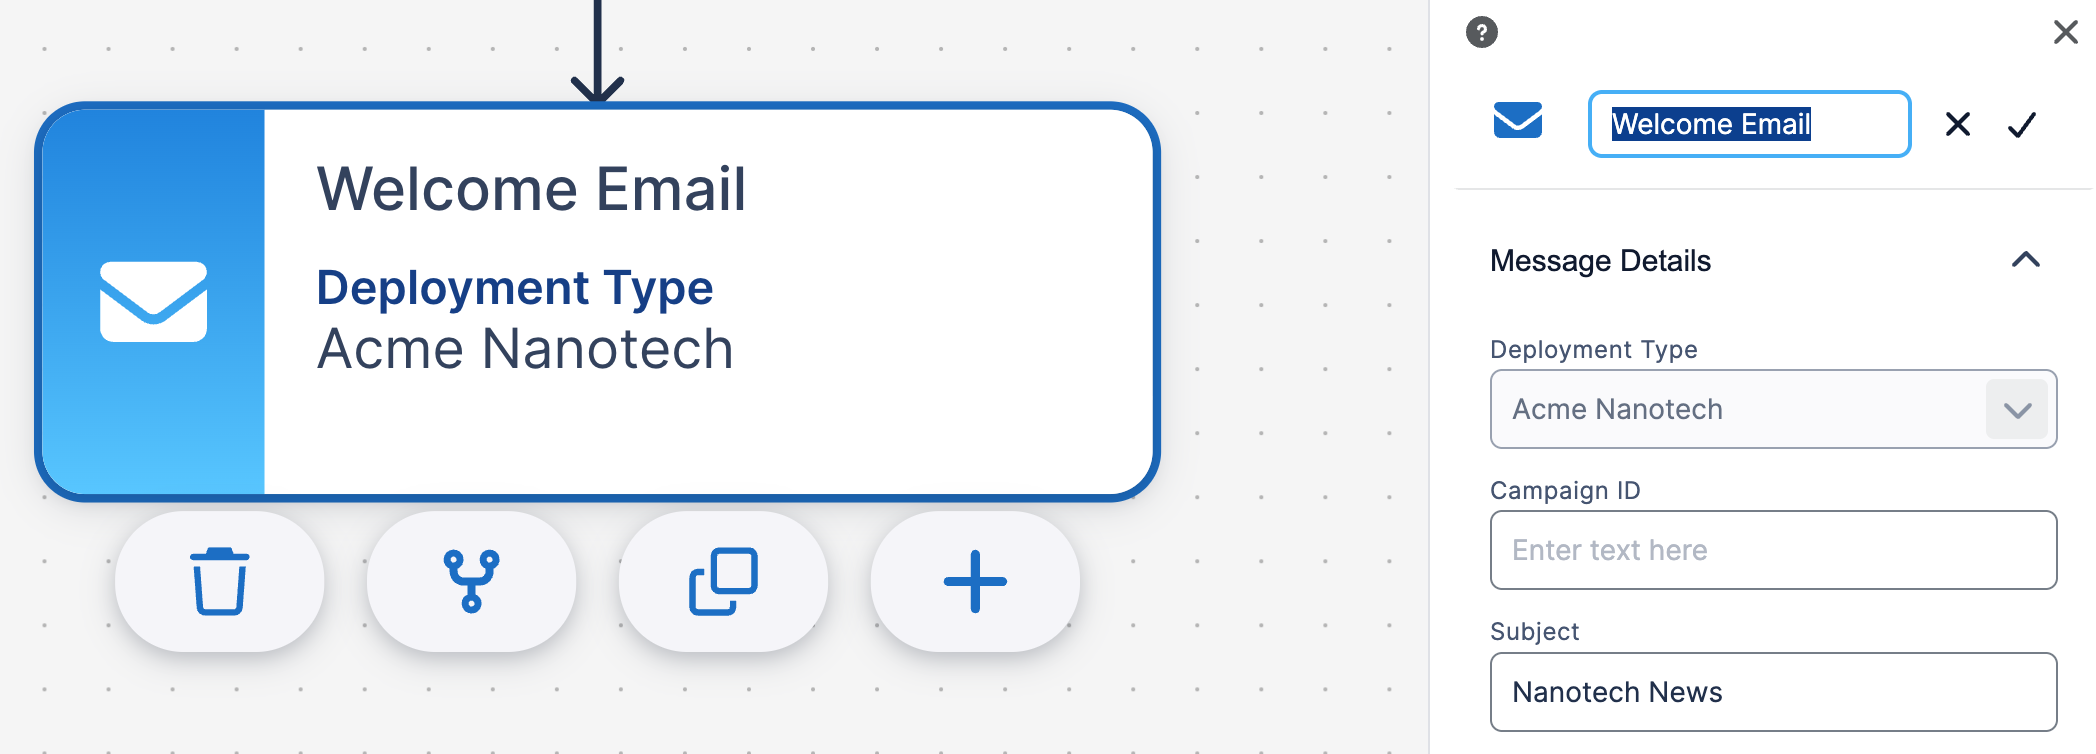
When building your Journey within Journey, make sure that you name your email elements with specific identifiers for that Journey. Otherwise, the default, “Email” will be used. If there are multiple email elements within the Journey, they will be labeled as “Email 1,” “Email 2,” etc. The number following the Email label is the Journey number associated with that deployment. The Type is the deployment type for that email. If you don’t uniquely label your email elements, you will have to use the Journey number & type number to identify each email, which can complicate things.
Audience Element FAQs
Are there limitations to using an external list?
Using an external list for your audience does have some limitations for your Omeda Journey because it lacks customer IDs.
-
The Filter element uses the Customer IDs to identify recipients, and because external lists don’t have customer IDs, no one from the list will pass through that filter element as “met”. This can create issues for your Journey.
-
The Personalization and Metering element also uses the Customer ID for targeting visitors on your webpages. Therefore, if you use an external list for your Journey, the number of impressions for your personalization message will be zero because the visitors’ Customer IDs won’t be tied back to the Journey where the personalization is.
Table of Contents